


Set up a New Internal Only Fund
This article provides steps to set up an Internal Only Fund.
Churches may not desire all funds to be shown externally. Some funds may be used within the church by staff for physical contributions, or a church may want the ability to keep a fund internal for privacy reasons.
Complete the following steps to set up an Internal Only Fund using the New Internal Only Fund form:
Fund Set Up
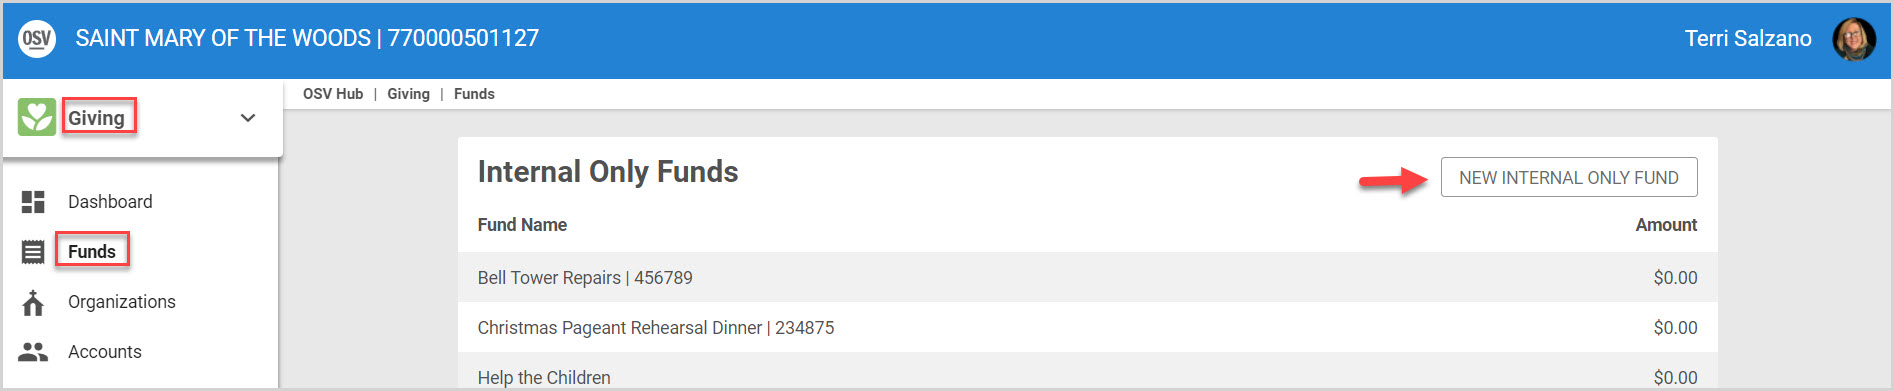
1. To begin, from Giving go to Funds and click on the New Internal Only Fund button.
Enter information into the New Internal Only Fund set up form.
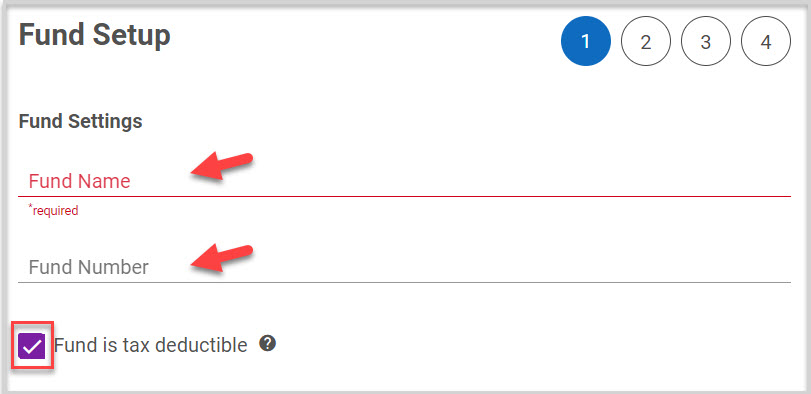
2. Enter the Fund Name. The fund Name you enter is the name the donors see. (If you are using Parish Data Systems for your Church Management Software, this needs to be the Activity Name to be able to import into your system.)
3. Enter the Fund Number if applicable. This only needs to be completed if you are going to import your file from another Church Manager System (CMS). The Fund Number is how this particular fund is tied to your CMS.
4. Select whether a fund is Tax Deductible. (Funds that are not tax deductible are excluded from the Tax Report.)
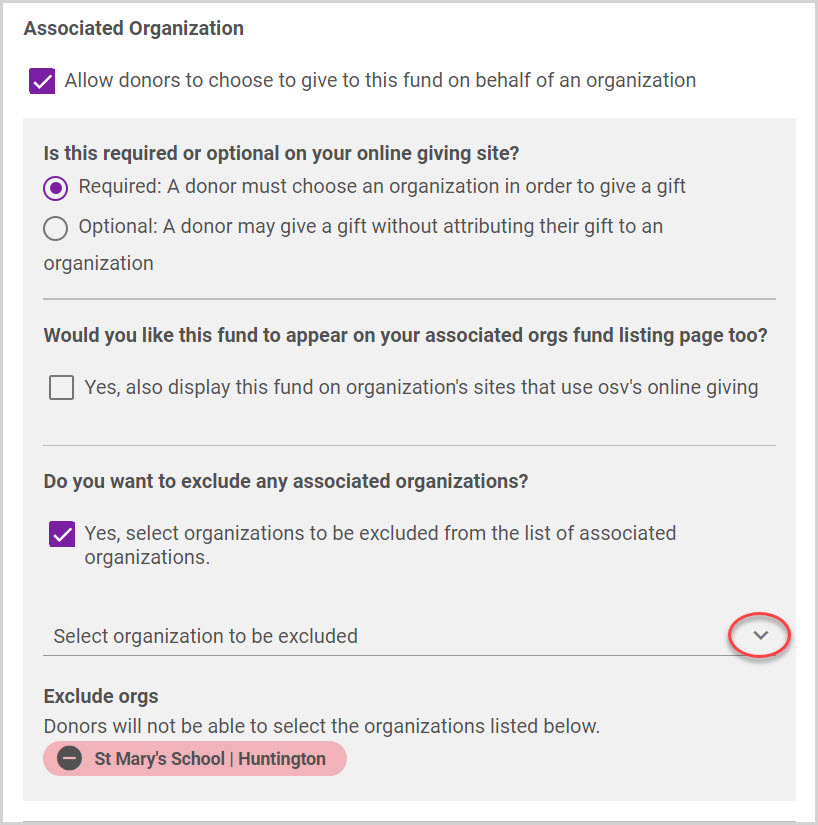
5. If you have Associated Organizations enabled (typically used by dioceses), you can select to allow donors to choose to give to the fund on behalf of an Associated Organization. It can be marked as required or optional.
Administrators have the flexibility to determine which associated organizations are restricted for donors to select from when contributing to funds. When asked if you would like to exclude any associated organizations, click on the drop-down arrow to make your selections. The list of excluded organizations will become viewable to you below, and donors will not be presented with those organizations as a selection when making their gift.
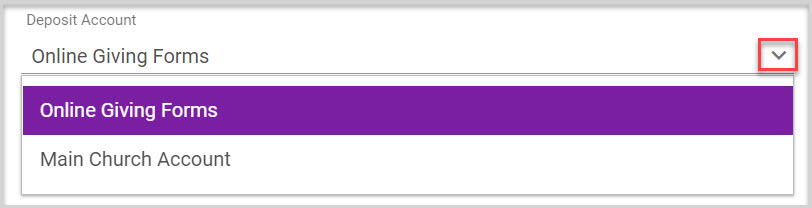
6. Select the Deposit Account.
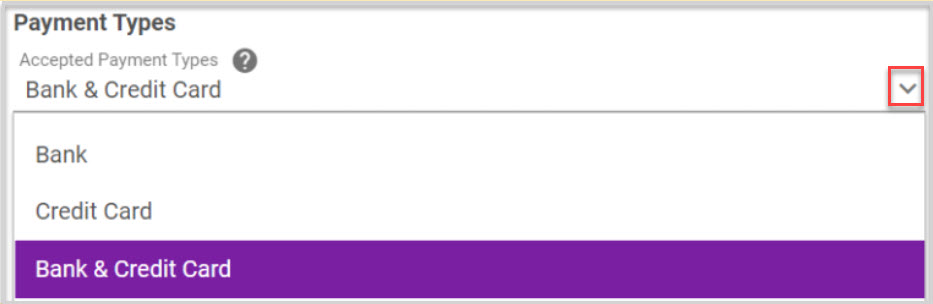
7. Select Accepted Payment Types. The available payment types are visible because the organization enabled them. The accepted payment methods can be edited.
Select which of the available payment options you would like to accept for the fund from the list that displays based on the deposit account that has been selected.
An opportunity to Offset Credit Card processing costs is offered when the credit card payment type is enabled. This is only offered on the form if previously turned on in Settings.
8. Select the desired Gift Frequency Options. Staff can control the frequency presented to donors.

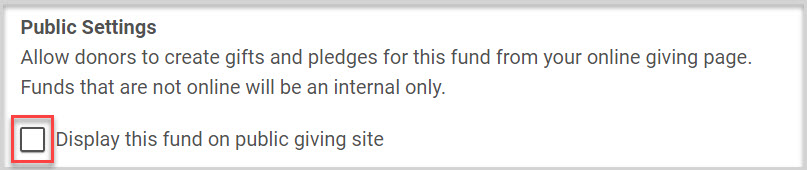
9. Do not select this box if creating an Internal Fund. This selection allows donors to create gifts and pledges for this fund from the online giving page.
Funds that are online are not considered Internal Only Funds. If your desire is to change and make the fund public now, then make the selection and continue setting up the form. You may want to click here for more information on setting up a New Online Fund.
10. Click on the Continue button to proceed.

Pledge and Campaign Settings
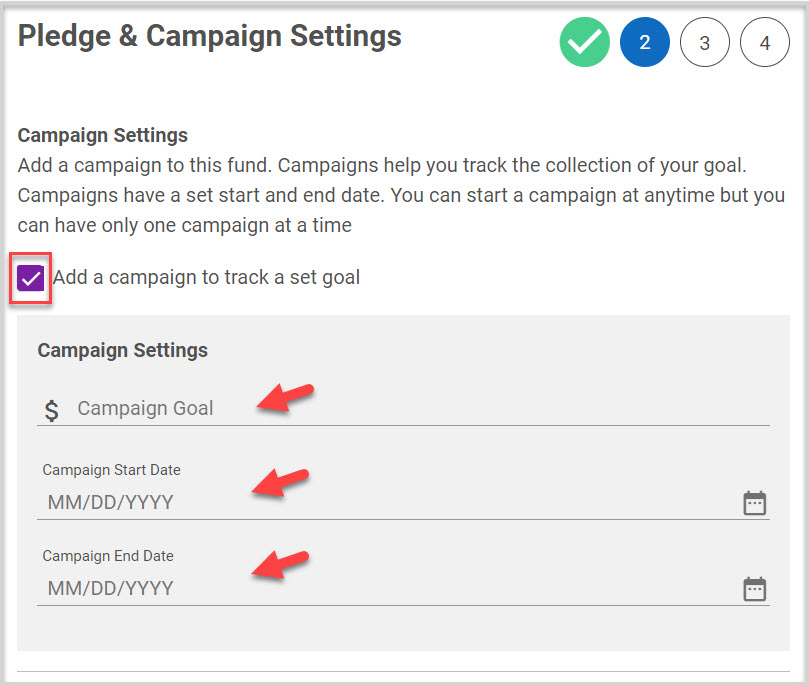
1. Check Add a Campaign to track a set goal Internal Only Fund should be a Campaign. Campaigns help track the collection of a goal.
2. Enter the Campaign goal.
3. Enter the Campaign start and end dates. A campaign can begin anytime, but there can only be one campaign at a time.
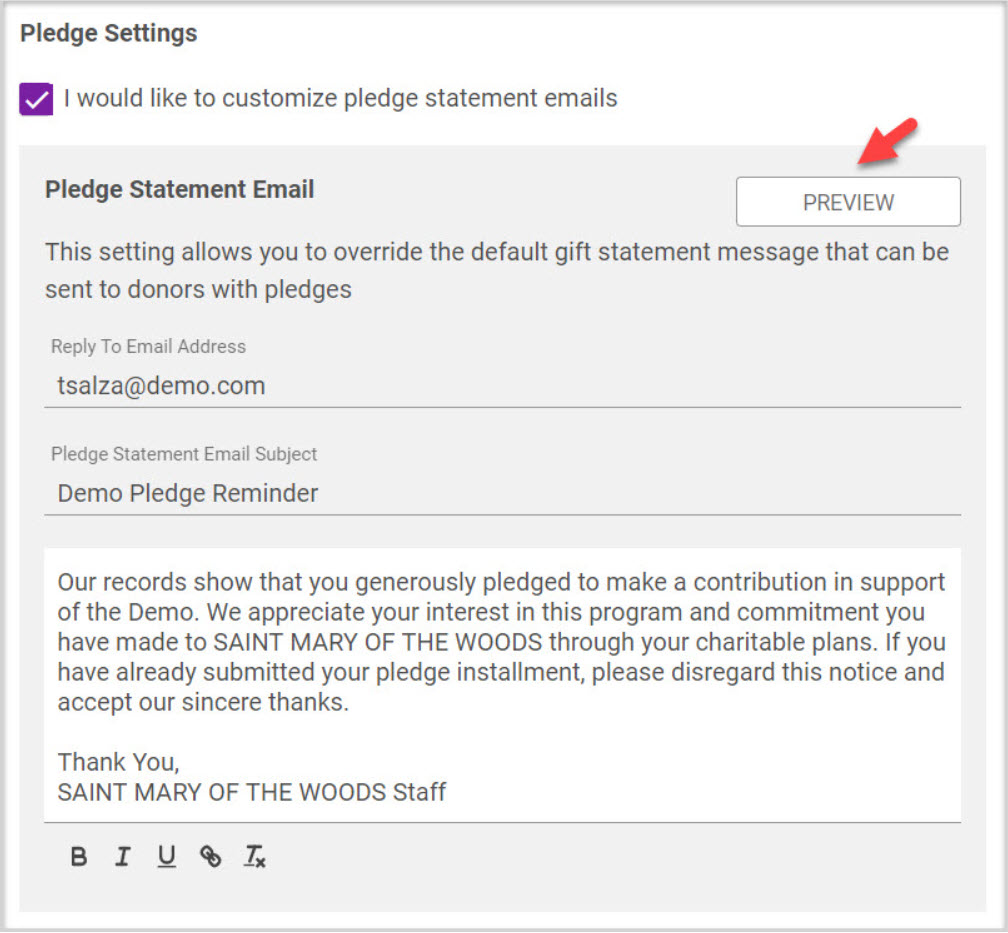
4. Select I would like to customize pledge statement emails to send customized pledge statement emails which override the default gift statement message that can be sent to donors with pledges. Verify the reply to email, enter a subject line and craft the custom message utilizing rich text formatting tools.
Sending donors customized pledge statements is a common practice for many organizations. A staff member can send a customized pledge statement to a donor to remind them of the pledge or just to let them know the state of their pledge.
Click on Preview to see how it looks. Click on Close Preview to close preview and continue.
Check this out for more information about customized pledge statements.
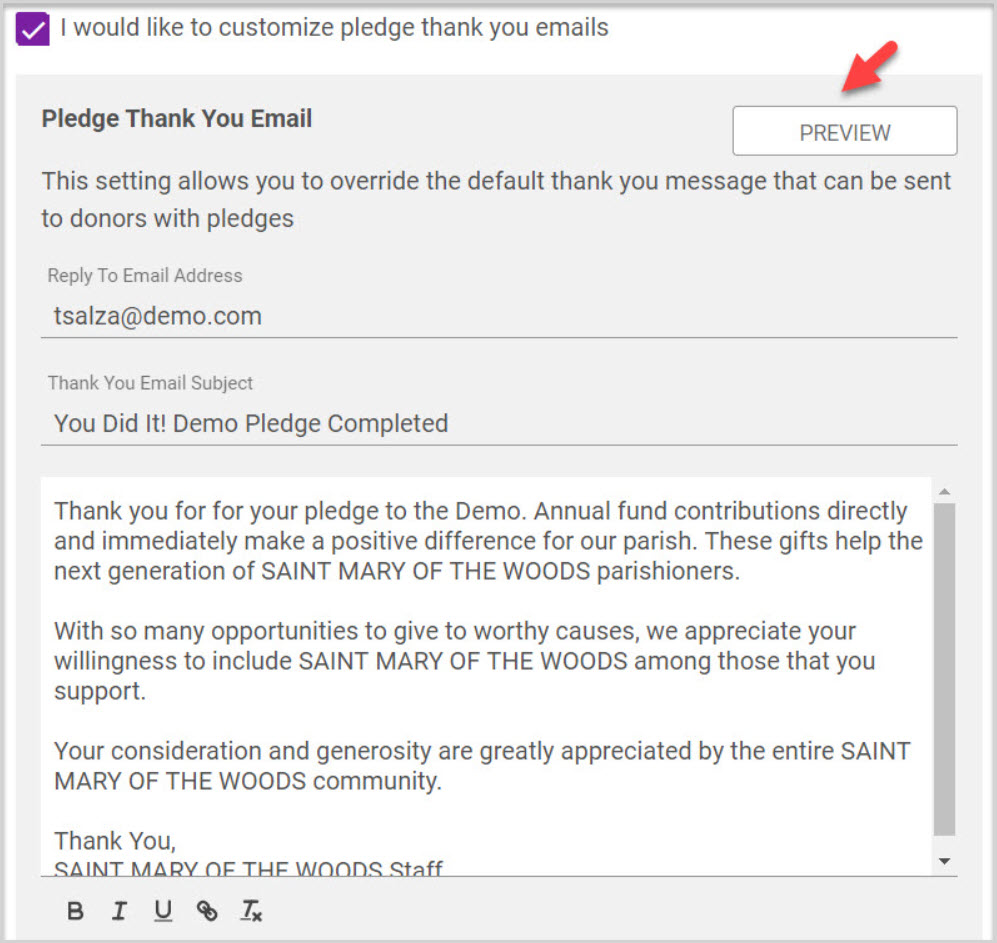
5. Select I would like to customize pledge thank you emails which override the default thank you message that can be sent to donors with pledges. Verify the reply to email, enter a subject line and craft the custom message utilizing rich text formatting tools.
Click here for more information about customized pledge thank you emails.
Click on Preview to see how it looks.
Click on Close Preview to close preview and continue.
6. If enabled, add Additional Pledge Options by selecting the box of the desired options.

7. Click on the Continue button to proceed.

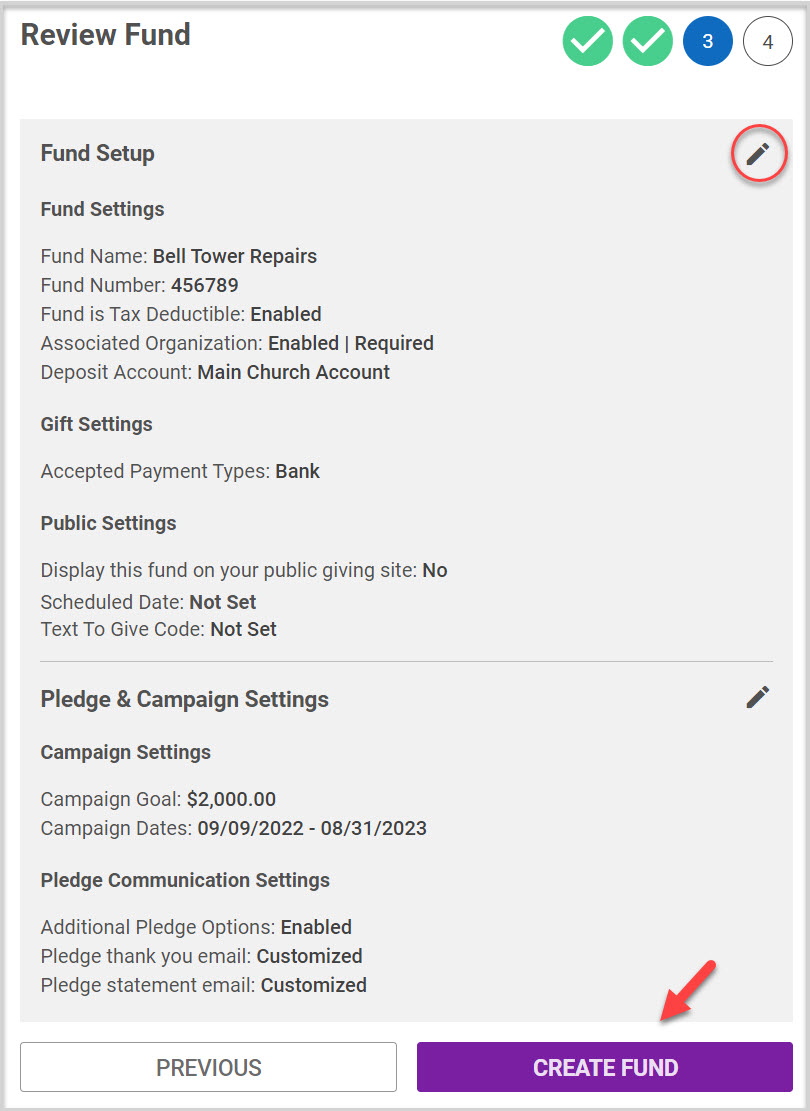
Review Fund
1. Review and Edit Fund. To go to a specific section to edit, click on any pencil icon. To get back to the fund review screen, click on the number 5 circle.
If desired, click on the button to Preview the Public Fund.
2. Set Fund to draft. Check this box if you are not ready to start accepting gifts. This sets the fund to draft. It can be set to live at anytime in the fund detail.
3. Click on Create Fund.
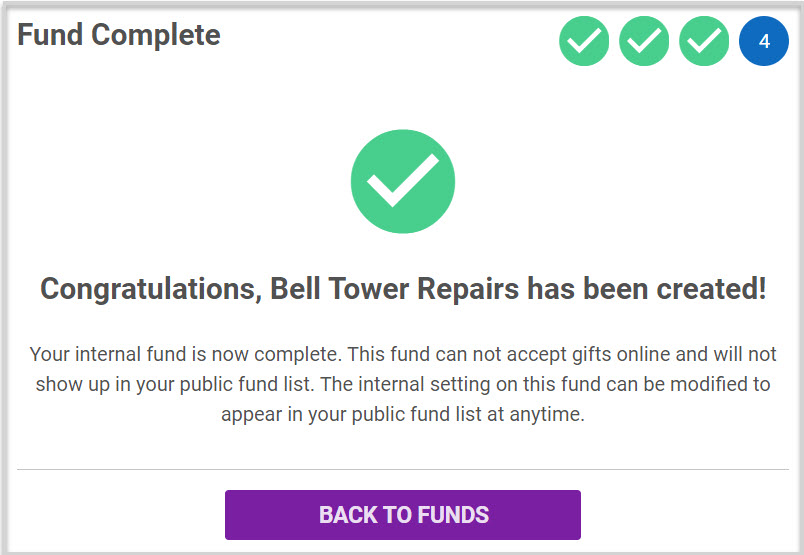
Fund Complete
The Fund is Set Up!
Check this out for more information on how to Delete or Archive an Internal Only Fund. And, check this out for links to more information about Funds.
Note* Visual steps are best viewed at full screen. Click Esc on your keyboard when you are finished viewing.