


How a Donor Creates an Account when Creating a Gift
This article provides steps for a donors to create a donor account on the public site when they gift to give now or for a pledge.
Donors can create an account that saves their contact and payment information, so they can donate in the future more conveniently. In addition, the system automatically matches donor accounts to Directory families or members with the same email address and attributes online gifts to those families or members.
To create a Donor account, the donor enters the information on the form after configuring the gift.
A donor completes the following steps to create a donor account when creating a gift:
1. On the Donor site, click Give Now on the desired fund.
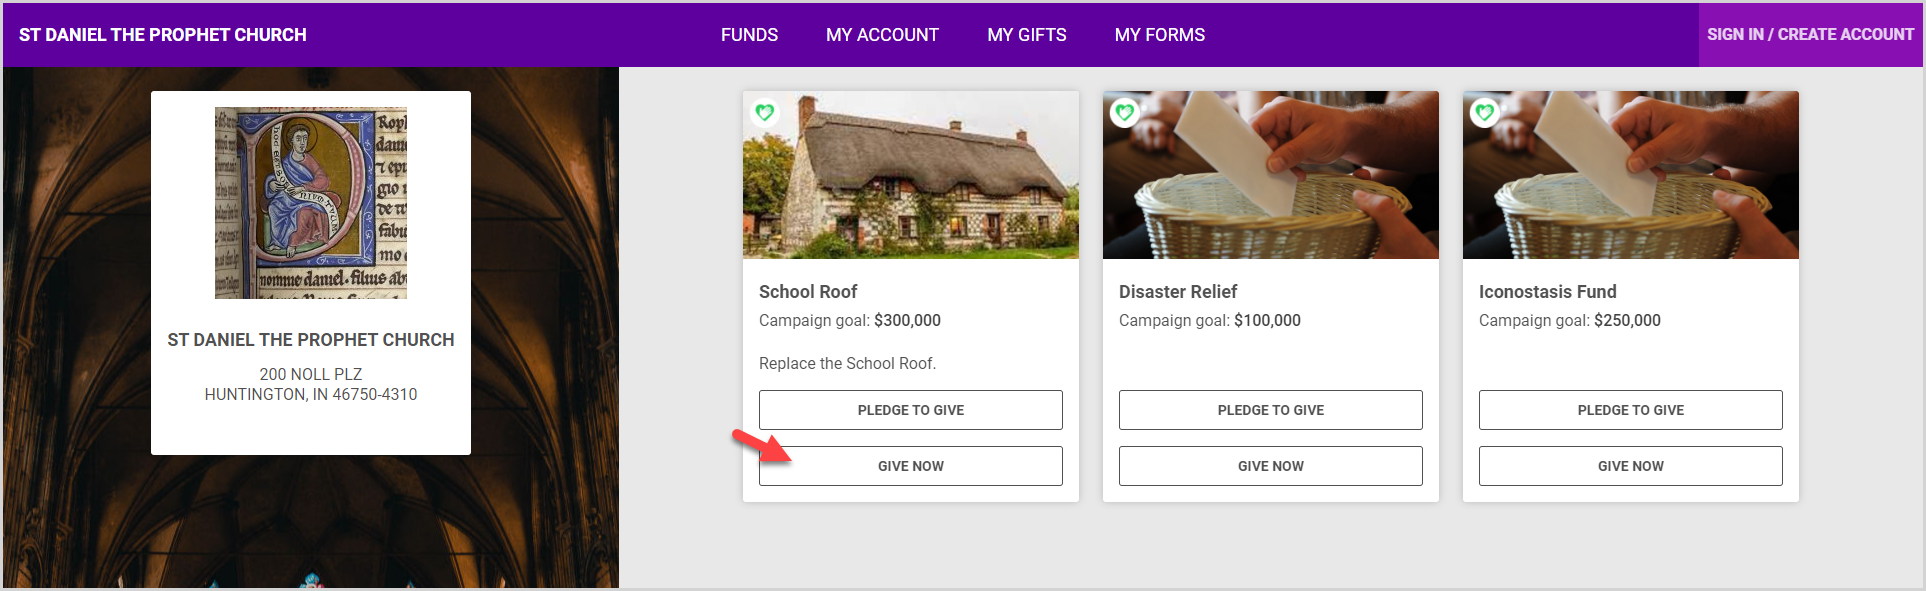
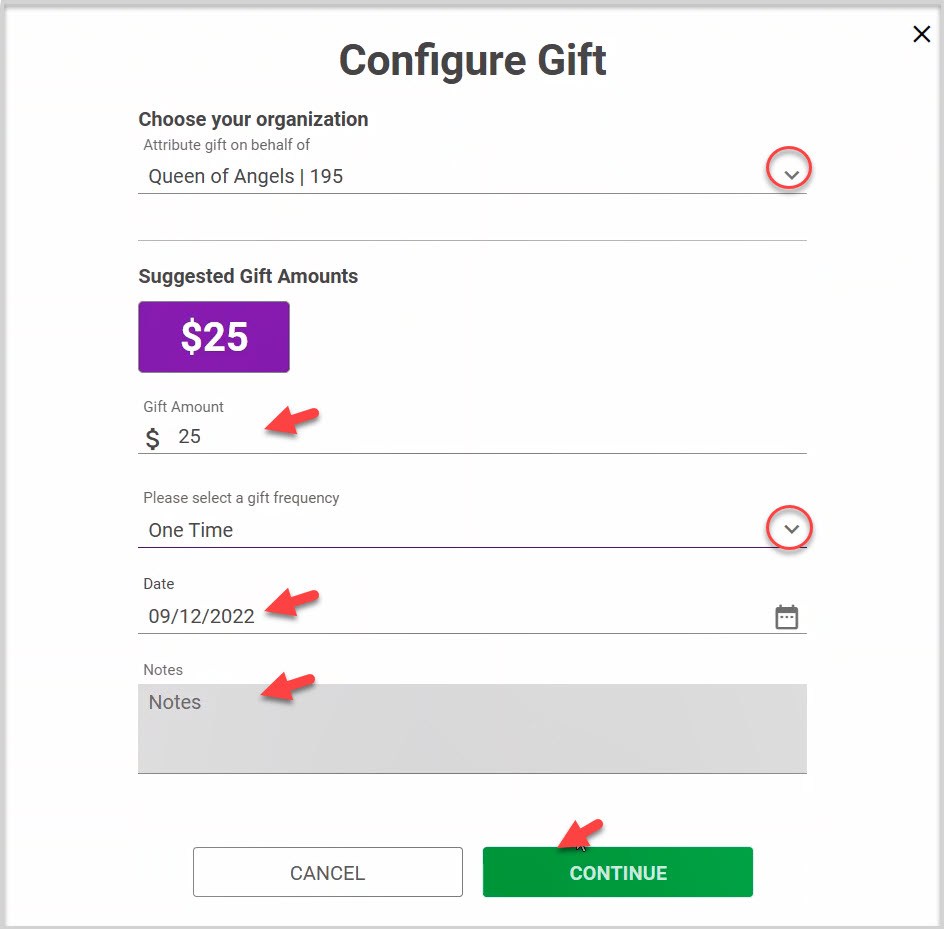
Configure the Gift
2. If enabled, select an organization to Attribute a gift on behalf of from the drop down menu.
3. Enter a Gift amount. You can select a suggested gift amount, if enabled, or enter a custom amount.
4. Select a Gift frequency.
5. Enter the Date (one time gift) or Start Date for the Gift.
6. If enabled, enter any notes you wish.
7. Click the Continue button.
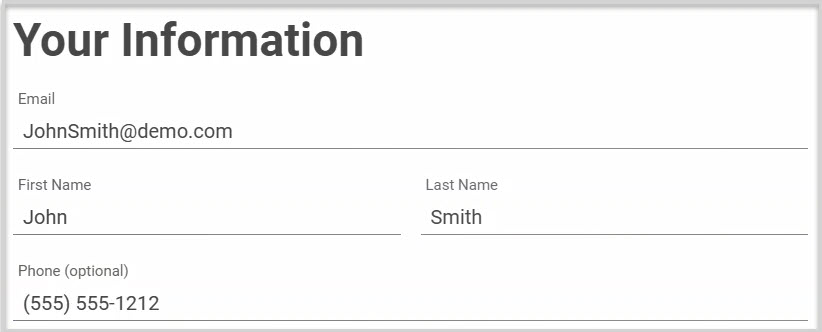
Contact Information
8. Enter an Email address for the account.
9. Enter a First name.
10. Enter a Last name.
11. Enter a Phone number (optional).
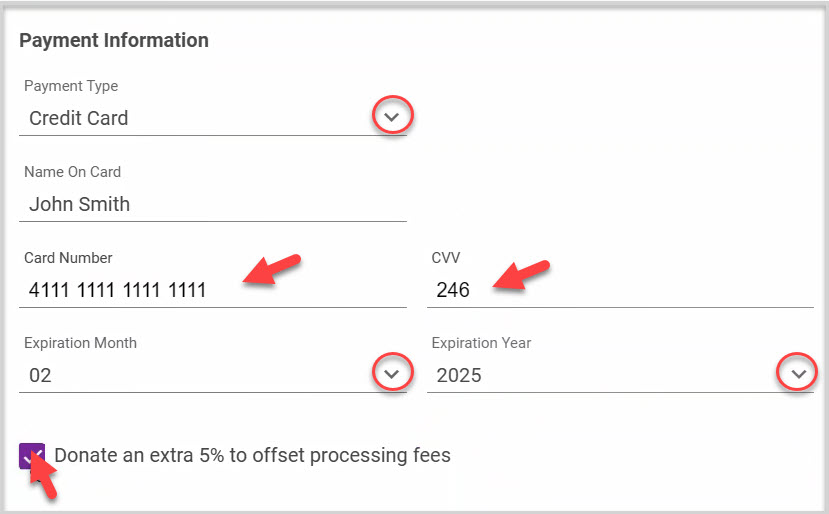
Payment Information
12. Select Payment Type: Bank or Credit Card.
13. Enter Payment Type information.
For a Credit Card, ensure the name that is auto populated matches the name on the card and enter the rest of the payment information. (Card number, CVV, expiration month, and year.)
For Banking Information, enter whether the account is a checking or savings account, the routing number, and the account number.
13. If desired, check the box to donate to Offset Processing Fees.
14. Enter the Payment Method Address.
15. Select create an account.
16. Create a password for the account.
17. Click the Submit your Gift button. The Donor receives a confirmation email which includes the Gift information.

The Gift is processed.

Note* A returning Donor is prompted to sign in if they enter an already recorded email address when completing the Your Information form.
Note* The video is best viewed at full screen. Press Esc on your keyboard when you are finished viewing.