


View Approved Registrations and Record a Payment
This article provides steps to view approved registrations and record a payment.
Approved registrations appear on the Registration page of the Term Details.
Complete the following steps to view approved registrations and record a payment:
1. From Religious Education in Terms select the desired Term.
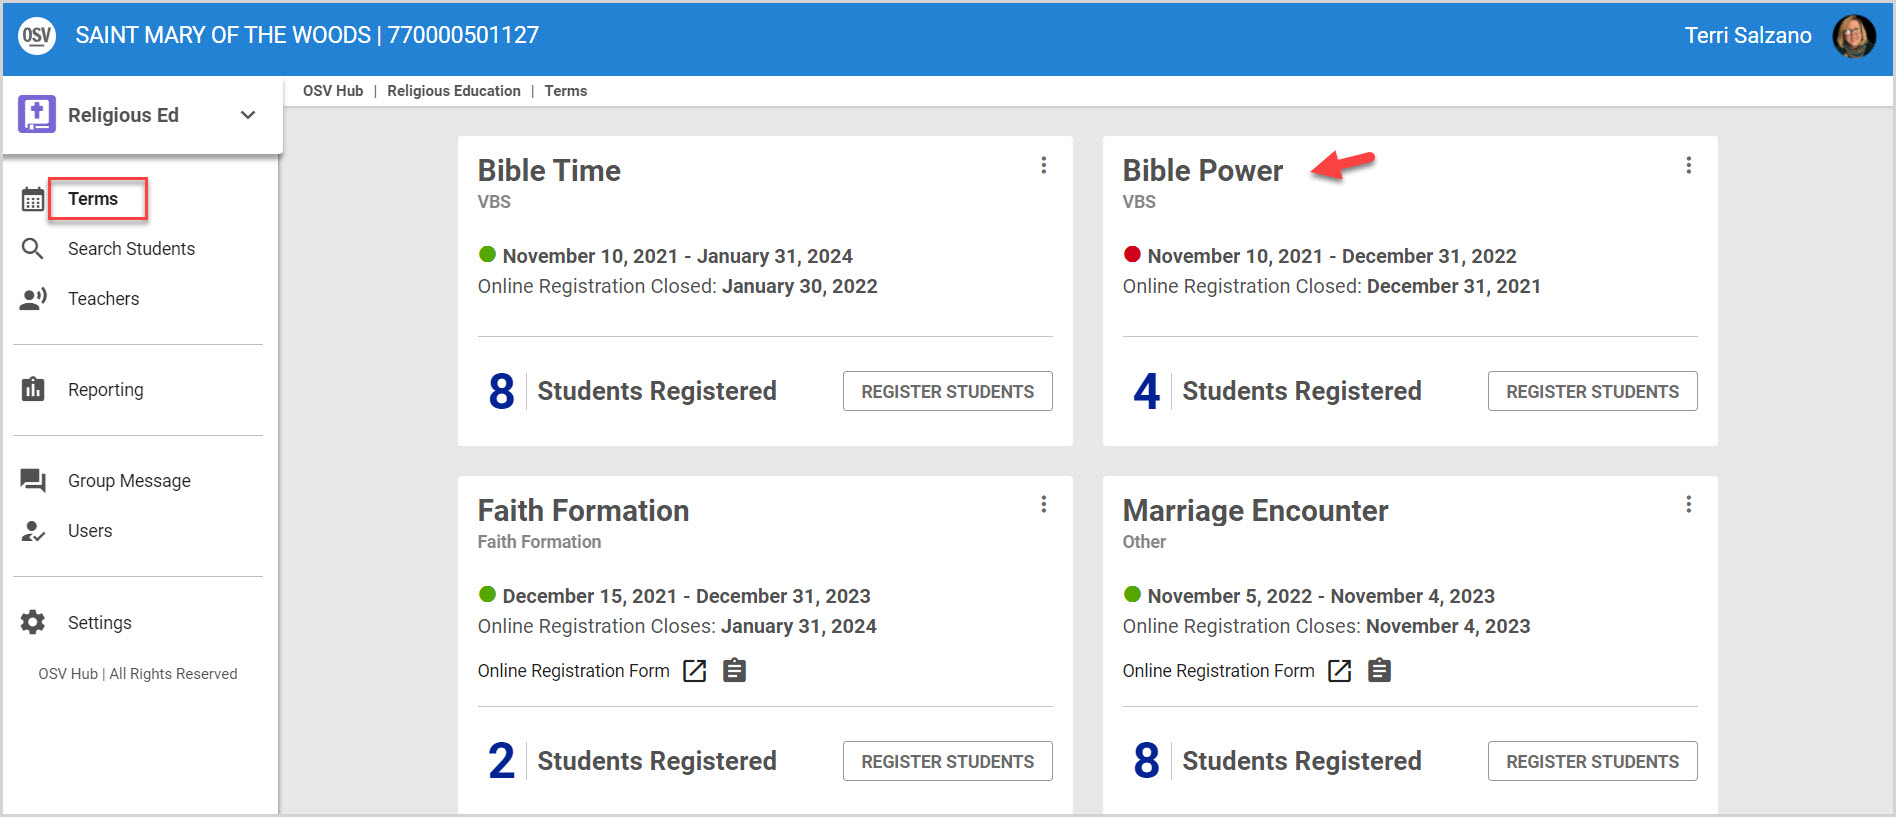
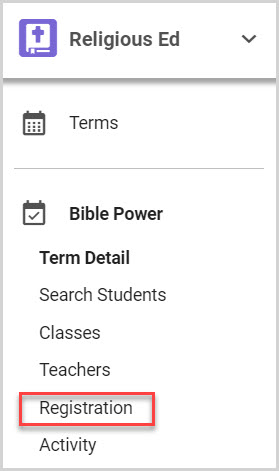
2. Click on Registration in the main menu.
3. Click on the Approved filter to view approved registrations.
4. Click on the desired family to record an offline payment.
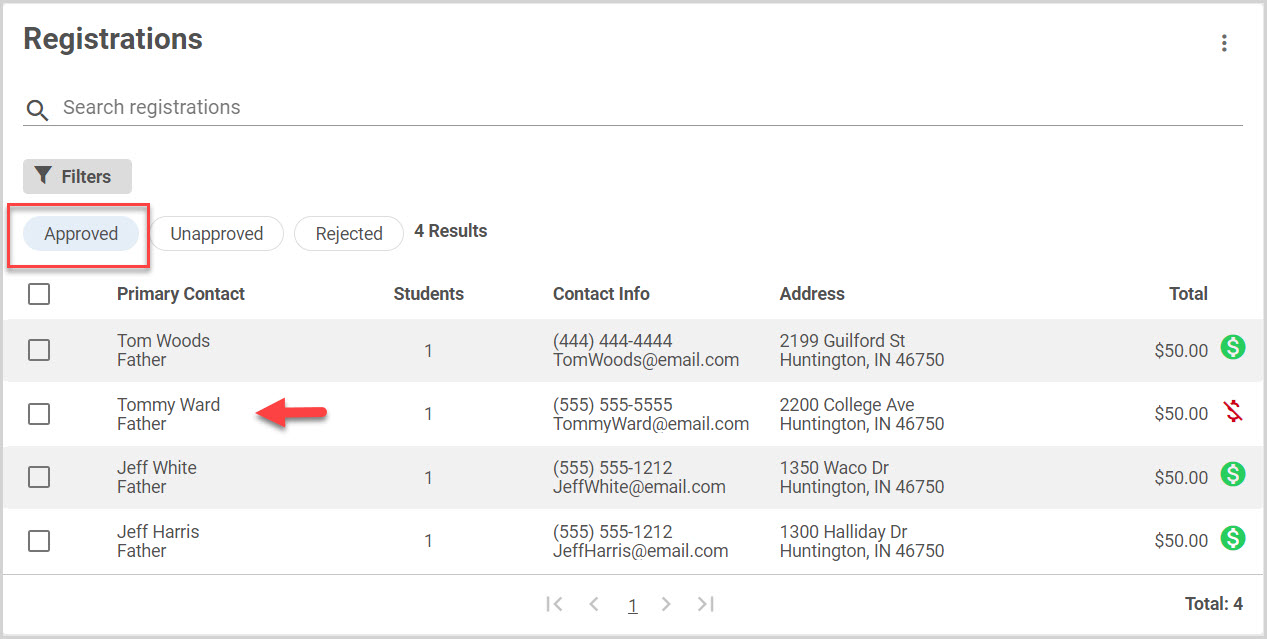
A payment that is past due is indicated by a red dollar icon with slash going through it. If payment has been received for the student, follow the steps above to record and bring the past due balance down.
A green dollar icon indicates the payment has been made in full. The parent/guardian can make this payment directly at the end of the registration form if the organization has Online Giving, and has enabled Online Payment during the term setup.
If Online payments was turned off, the parent/guardian should reach out to the organization directly to make the payment.
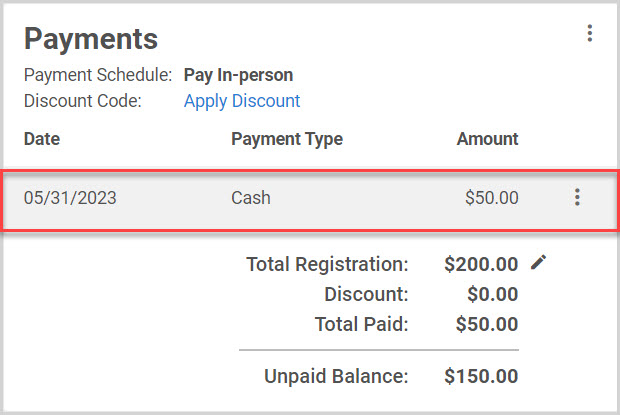
The Payments card shows if any payments have been made on the registration and what the unpaid balance is.
5. Click on the ellipses and select Record payment in the menu to add a payment for the family.
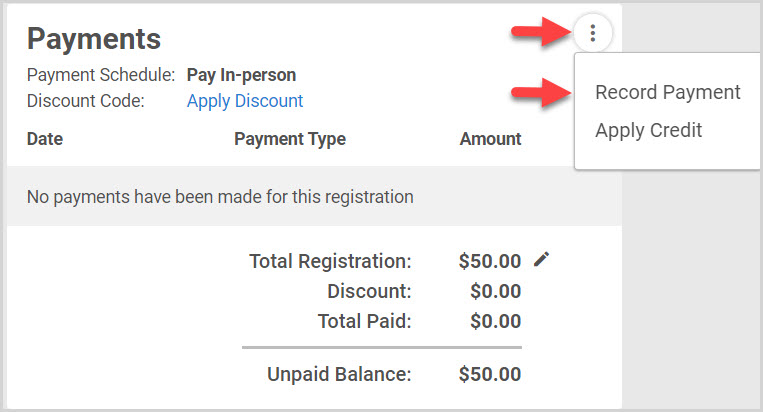
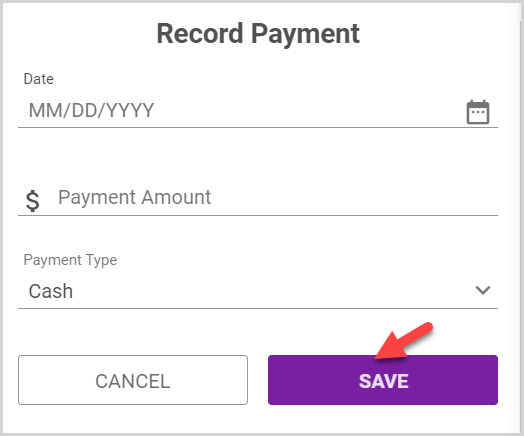
The admin enters the date of the payment, the total of the payment, and the payment type. Payment type allows the admin to choose between cash, check, or credit card.
6. Click Save to process payment.
The Payments card reflects the new unpaid balance.
If the date, payment type, or amount was made in error – the admin can either update or remove the recorded payment.
If a partial payment was applied to the total, a new unpaid balance appears with the remaining total. Payments can be recorded until the fees are paid in full.
Note* The video is best viewed at full screen. Press Esc on your keyboard when you are finished viewing.