


The Form Builder
This article provides information regarding the Form Builder and contains links to more information.
The first step in creating a form is using the Form Builder. The Form Builder has drag and drop items to build custom forms. Whether starting from a template or a blank form, you can add, arrange, and customize form items to build the form you need.
The following sections detail how to use the Form Builder.
Update Name
The form name is set when you Add a Form. Nevertheless, you can still update the name in the Form Builder if needed: click the Form Name field and enter the new name.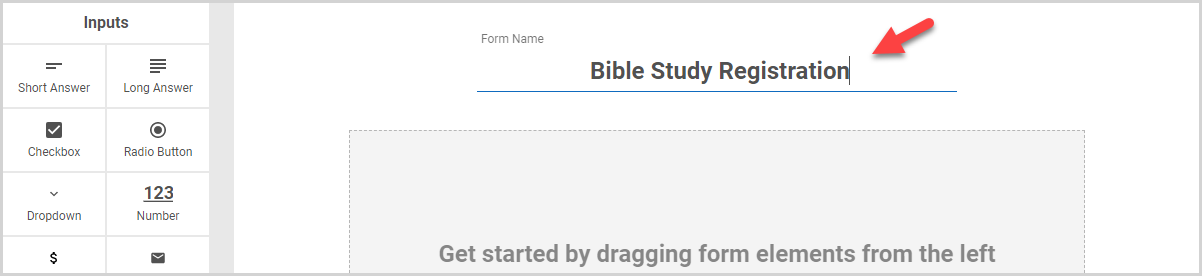
Item Types
The Form Builder has pre-formatted items for frequently used information, as well as fully customizable items to capture the specific information you need. You can also group items within sections and add design elements to your form.
There are four types of items available. Click the following links to learn more about each item type:
-
Flexible Inputs: fully customizable items such as short/long answer, dropdown, and checkbox; you can add any question, answer, or information into the item.
-
Special Form Fields: pre-formatted items used to capture frequently gathered information, such as name, date, and contact information.
-
Groups: sections used to group items under a single header for easy formatting and duplication.
- Design Elements: images, text, and dividers that can be added to tailor the look of your form.
Add Form Items
To add an item to the form, click and hold the item in the palette, and then drag and drop it in the form. As many items as needed can be added to the form. The Form Builder has different item types to capture the information you need, and groups of items can also be created.

Arrange Form Items
Any item can be moved as you build the form. Drag and drop items within the form to arrange their location. 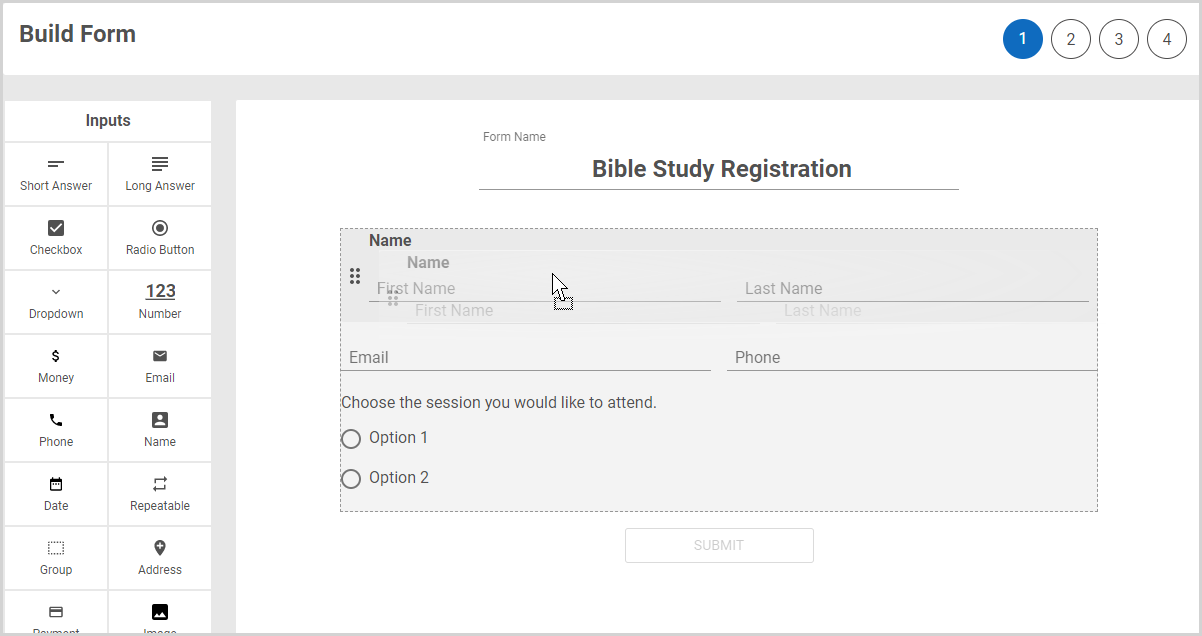
Customize Form Items
Each form item can be customized in the options panel. Click the form item to view the options panel, and then update the options as needed.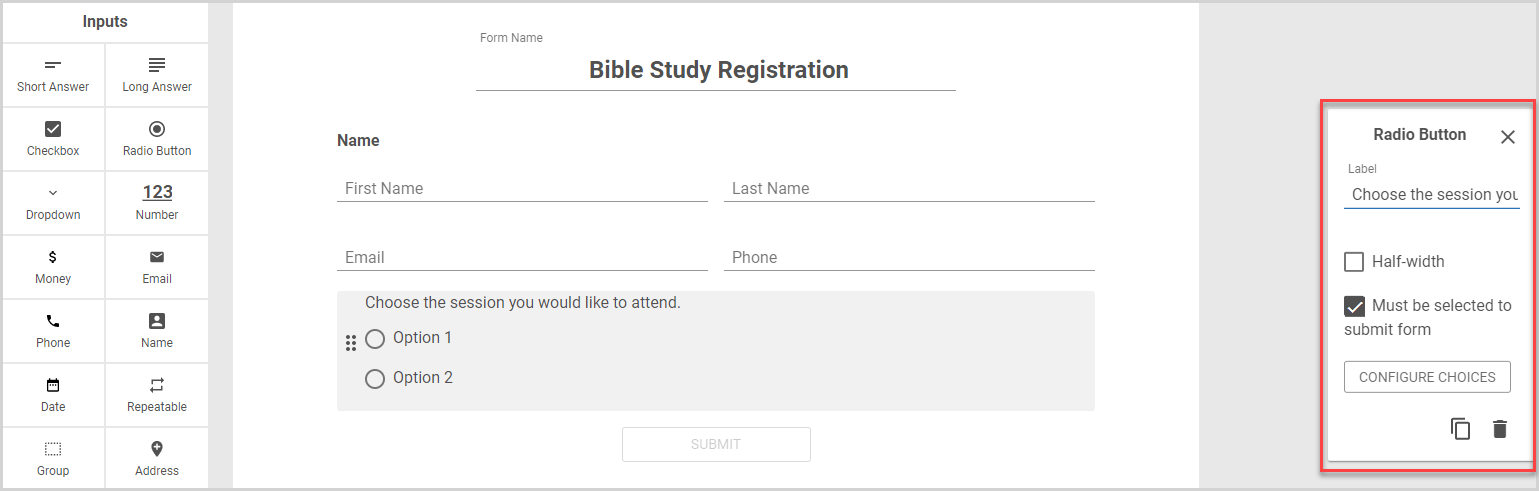
Delete Form Items
To delete a form item, click the item, and then click the trash can icon in the options panel.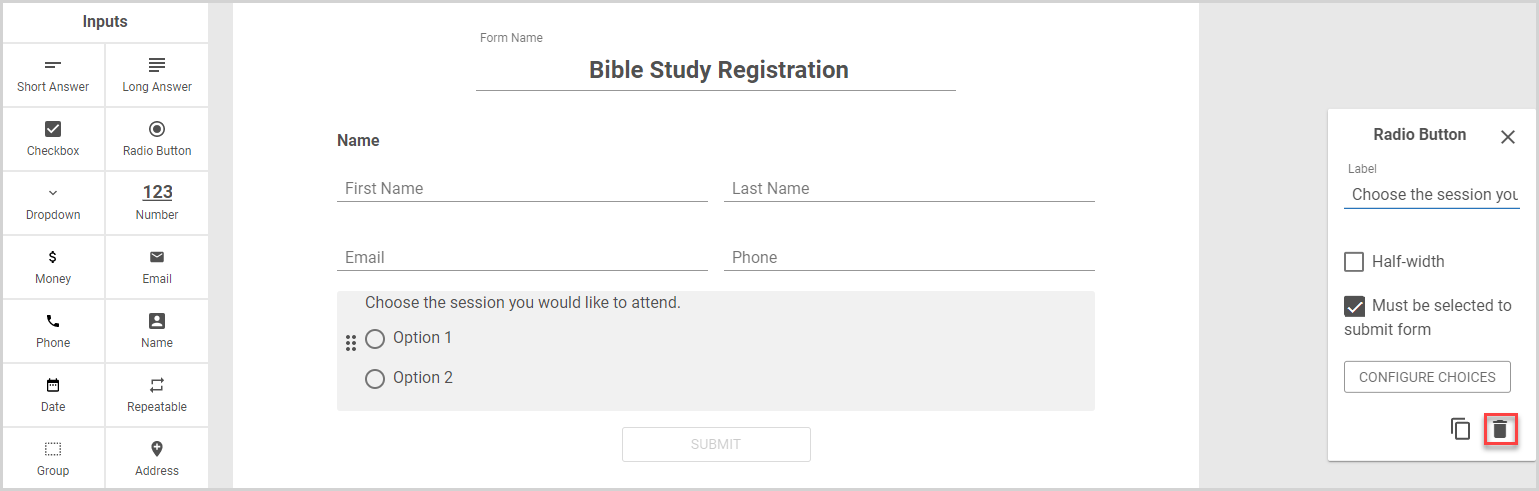
Configure Form Options
After you build the form, click Continue to move to Configure Form Options.
The following video shows how to drag and drop the elements into the center field to build a custom form.
Note* Video is best viewed at full screen. Press Esc on your keyboard when finished viewing.