


Configure Form Options
This article provides information regarding how to configure form options.
After you build a form with The Form Builder, the next step is to configure the form options. Form configuration options set the messaging and delivery options for the form. Configuration options can be updated when you Edit a Form, even after the form is live and collecting submissions.
The following sections give further details regarding the configuration options.
Response Recipients
Response recipients are emailed whenever a form submission is successfully made. Each email contains a pdf attachment of the form submission. A response recipient does not need to have OSV Hub access to be designated. Enter the email address of the recipient in the Primary Email field.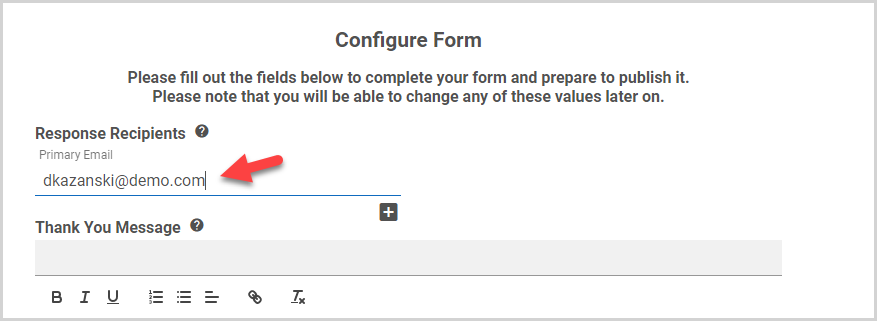
To add additional response recipients, click the plus sign icon, and then enter the additional email addresses. You can designate as many response recipients as you wish.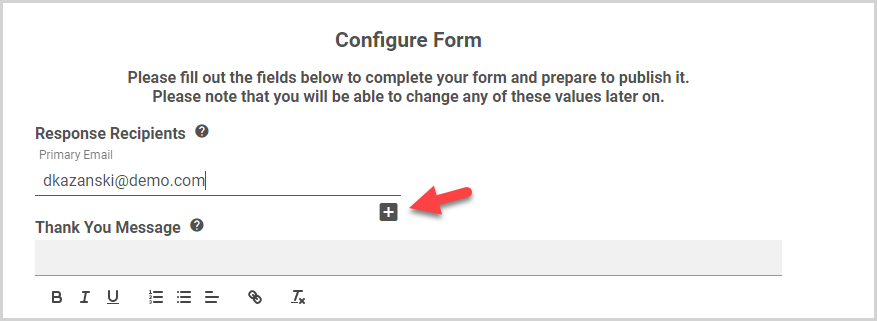
Thank You Message
The thank you message appears when a form has been successfully submitted. To set the message, type your desired message into the field. Text formatting options are located in the ribbon below the text field. If the field is left blank, the person submitting the form still receives a confirmation message that the form has been successfully submitted.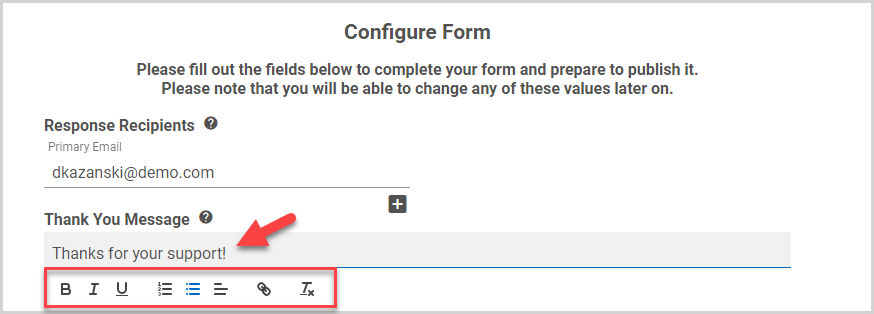
Auto Reply Email Message
This message is sent to email addresses specified in the form submission as use this for auto-reply emails when a form has been successfully submitted. A default message is automatically configured, but you can type a custom message in the field. Formatting options are available in the ribbon below the text field.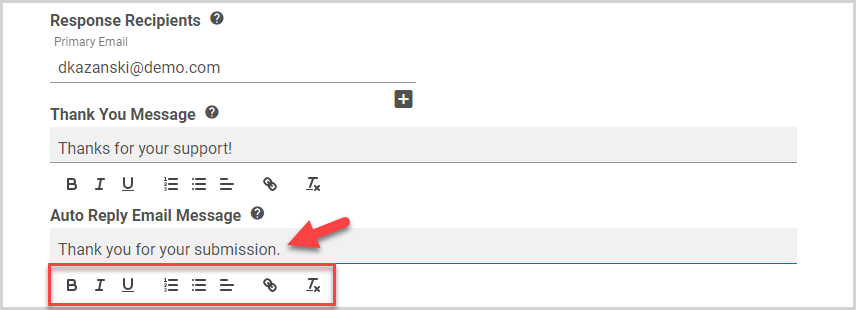
Discounts
You can create a discount for a Payment in Forms. To create a discount, click the plus sign icon, and then select the Discount Type: fixed discount or percentage. Enter a Discount Code to share with submitters, and then enter the Discount Amount. Additional discounts can be added by clicking the plus sign icon, or the discount can be removed by clicking the minus sign icon.
Form URL Name
The form URL is the web address submitters will use to access your form. The final part of the URL defaults to the name of your form, replacing any spaces with hyphens. However, final part of the form URL is customizable. To customize the URL, enter your desired text into the field. This field cannot contain special characters or spaces, only numbers, letters, and hyphens are allowed.
reCAPTCHA Protection
reCAPTCHA protection, which protects against unwanted automated submissions, is automatically enabled when you create a form. If your form is set to accept payments, this feature cannot be turned off. reCAPTCHA protection can be disabled or enabled again by clicking the checkbox.
General Ledger Account Number
If you also use our Online Giving and would like to include the Form payments within an export into another system, assign the form a General Ledger Account Number. Once this number is added to the form you will see the form available within the Select Form dropdown of your Online Giving Export. 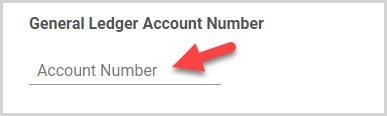
Review the Form
Once all configuration options have been set, click the Review button to Review the Form.