Connect your Mission Pathways application to your ParishSOFT database
This article provides steps to connect your Mission Pathways application to your ParishSOFT database.
Complete the following steps to connect the Mission Pathways application to your ParishSOFT database:
- API key for your parish
- ParishSOFT Organization ID
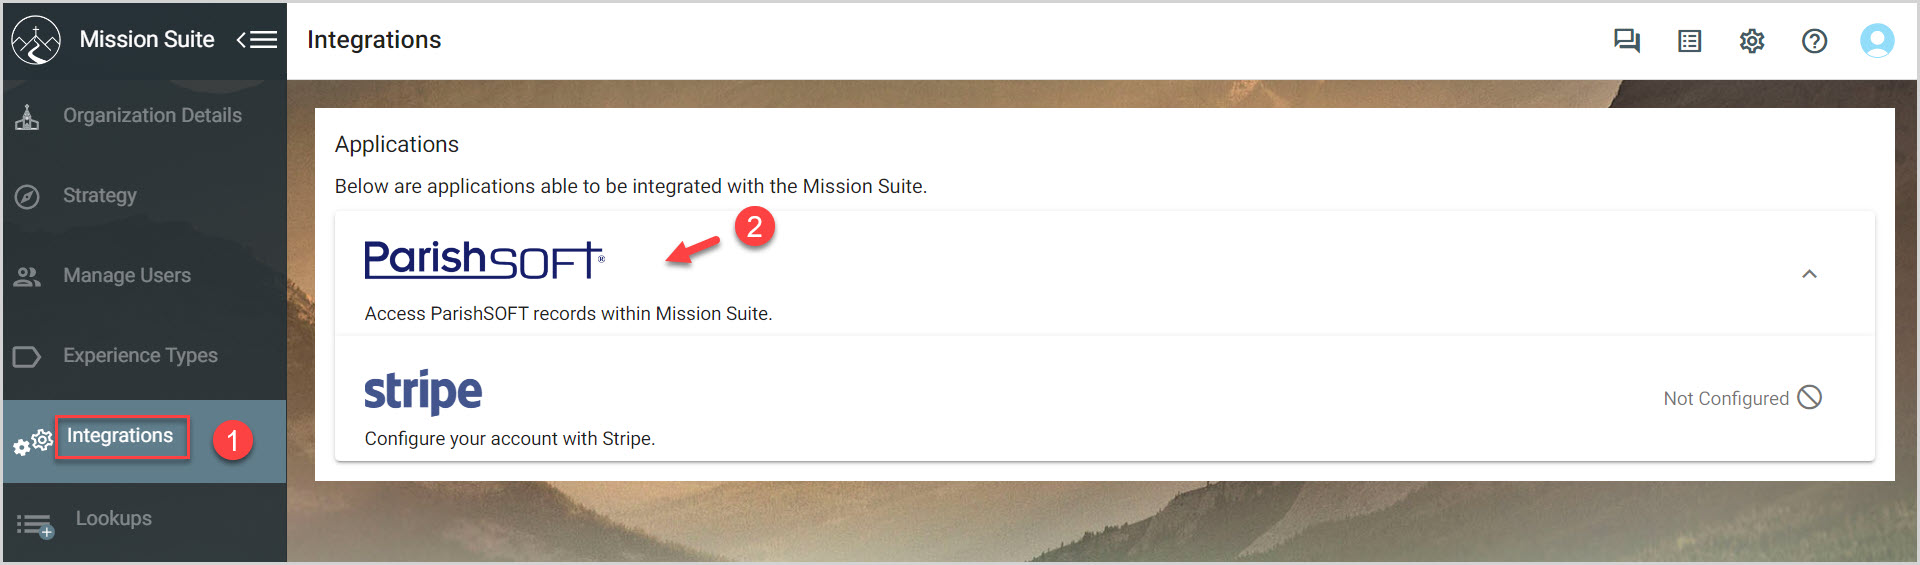
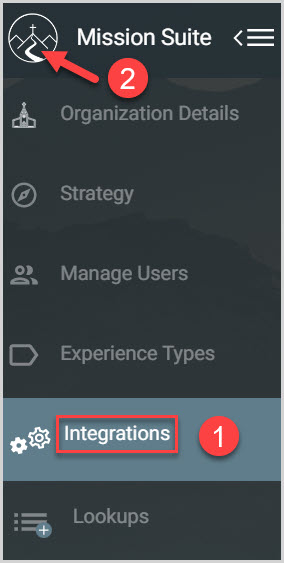
2. Select Integrations from the main menu.
3. Click on ParishSOFT.
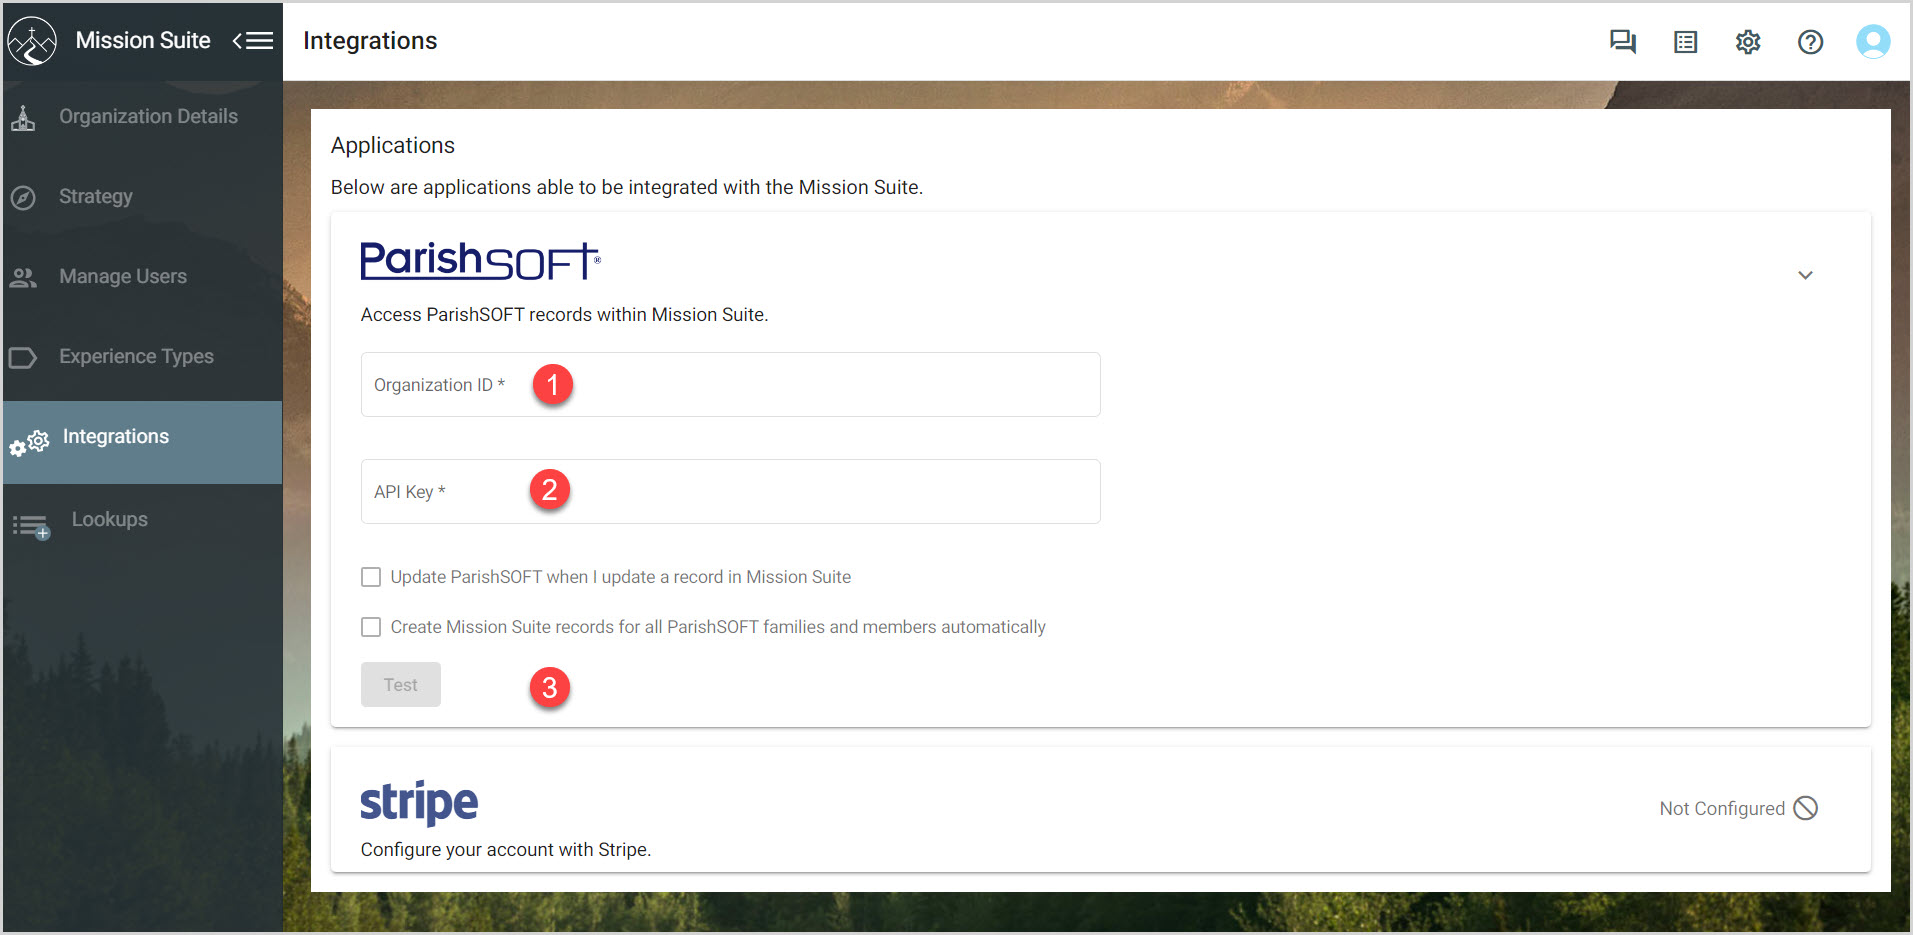
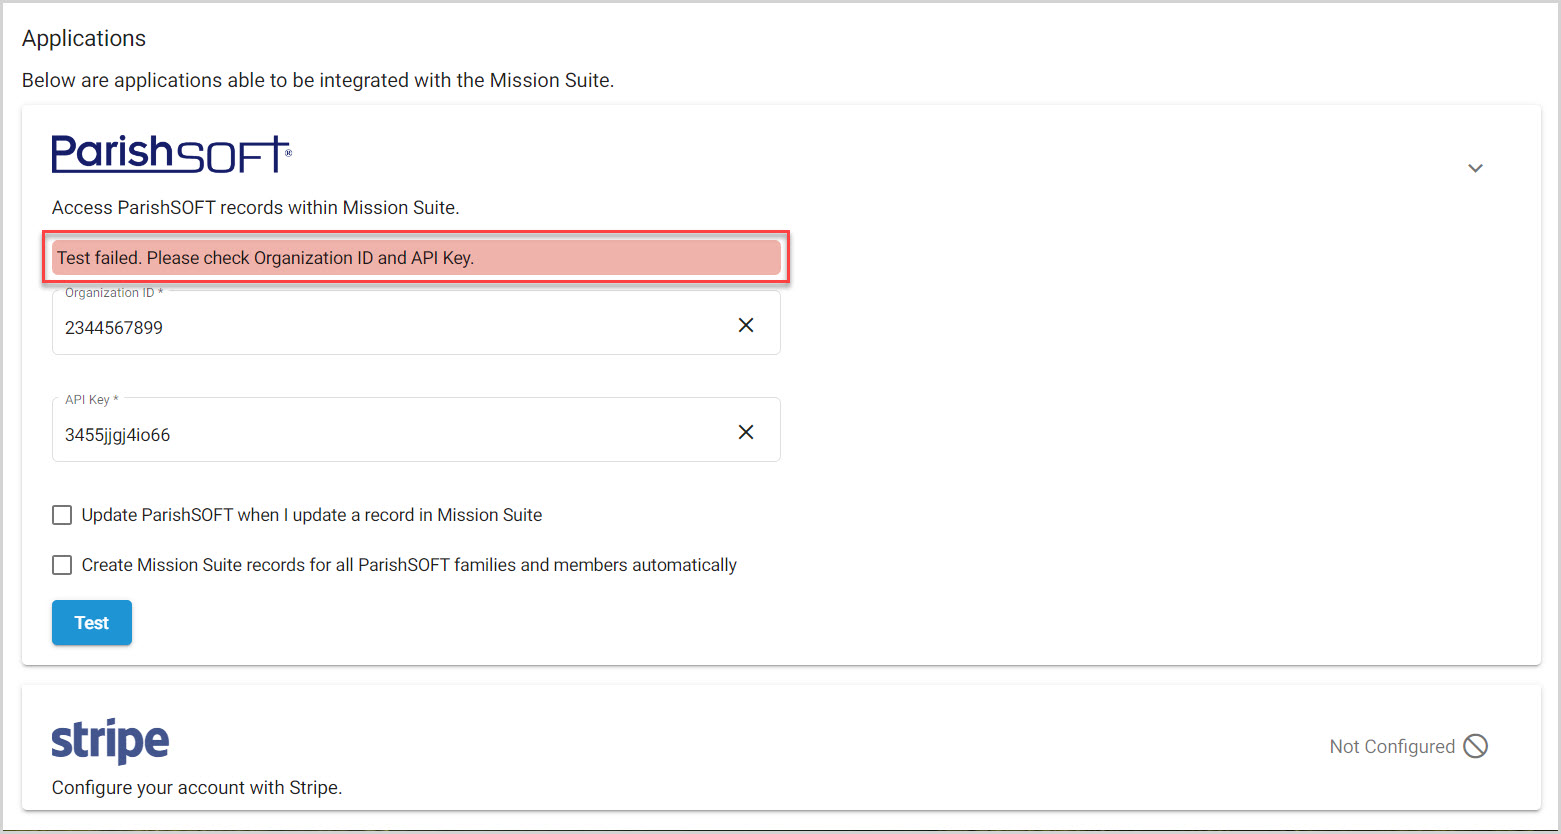
3. Enter the the Organization ID.
5. If desired, check the box marked Update ParishSOFT when I update a record in Mission Suite.
6. If desired, check the box marked Create Mission Suite records for all ParishSOFT families and members automatically.
Confirming this setting will enable the creation of Mission Suite profiles and households for each of your ParishSOFT records and families - both those existing and any added in the future. For example, after confirming this setting, if you have 100 ParishSOFT families, Mission Suite will automatically create 100 Mission Suite households based on your ParishSOFT data.Please be aware that it may take up to one hour for all newly created profiles and households to appear in the Mission Suite.Note: A Mission Suite profile is the equivalent of a ParishSOFT record, and a Mission Suite household is the equivalent of a ParishSOFT family.
7. Click Test.
8. Once you have successfully integrated with ParishSOFT, you can add ParishSOFT member records to your sessions and groups. Whenever a person registers, the system automatically looks into the ParishSOFT records to see if there is a match and automatically chooses the ParishSOFT record if there is a match.
The ParishSOFT API is available for The Encounter Module (Session/Retreat) Participants and Volunteers, and the Grow Module (Groups) Participants and Members. The steps below outline the import process for a participant in an Encounter session, but the steps are similar for all of the areas of the application listed above.
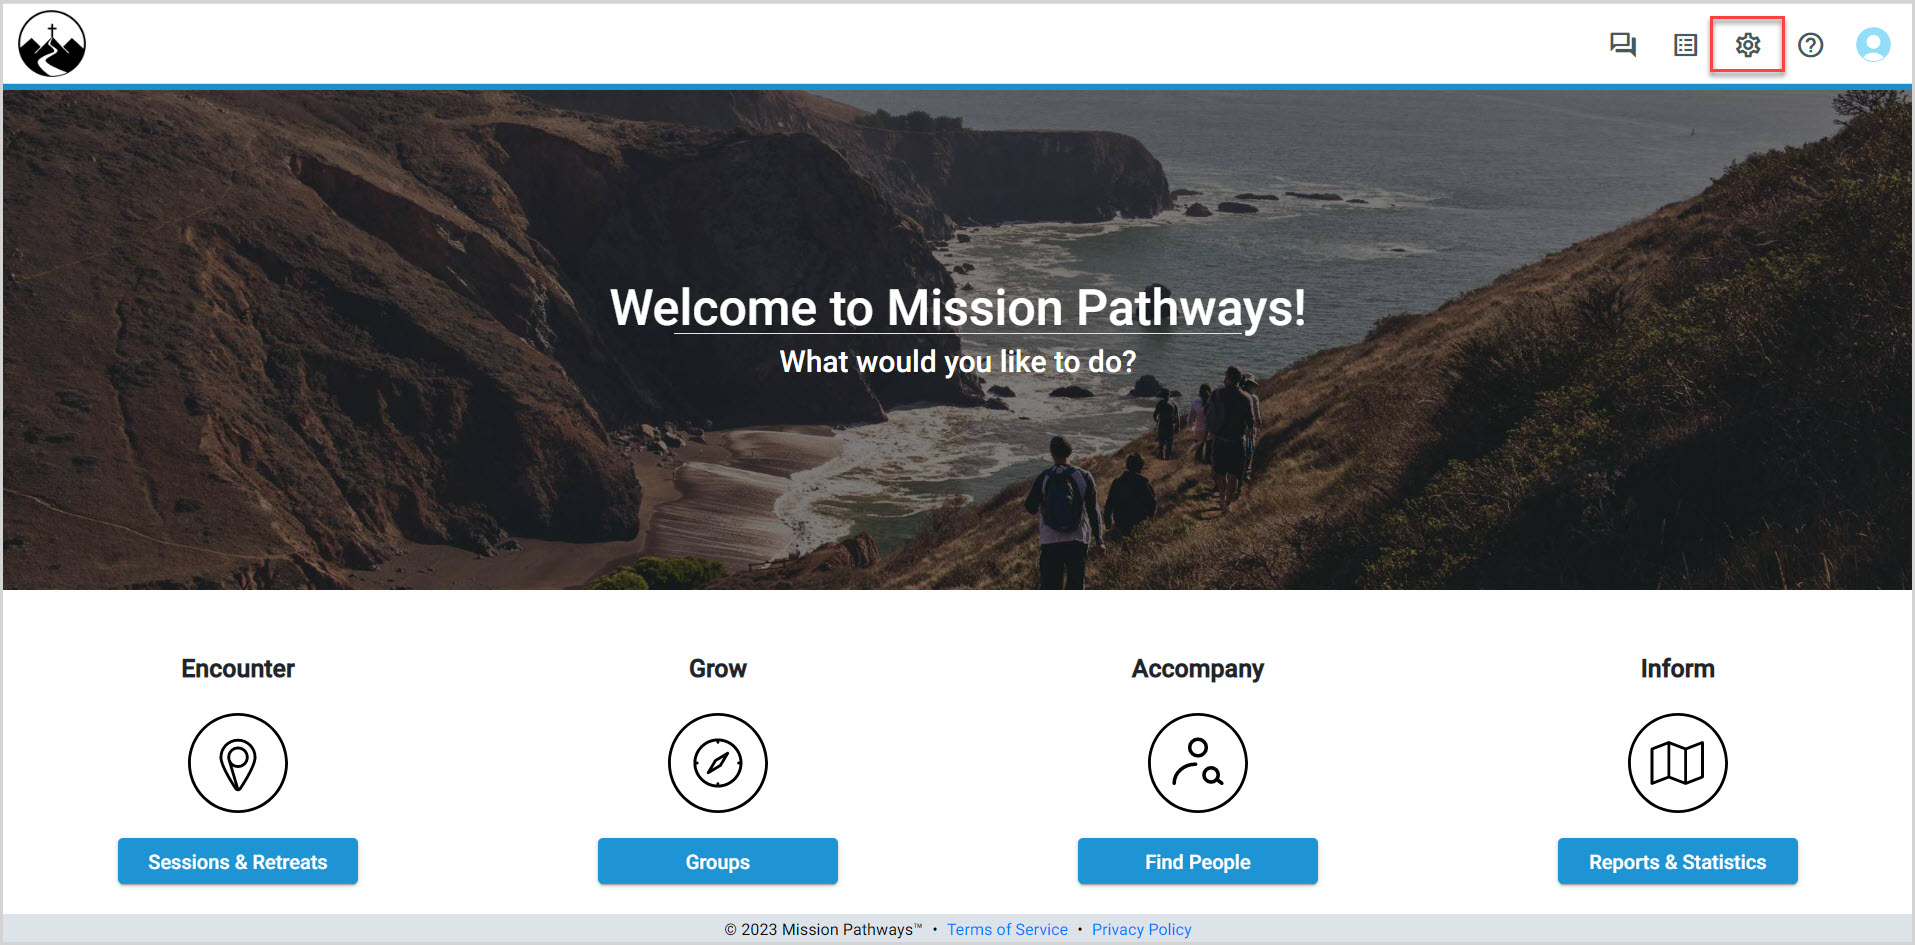
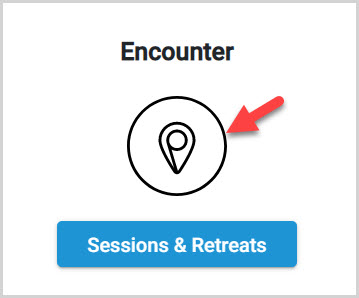
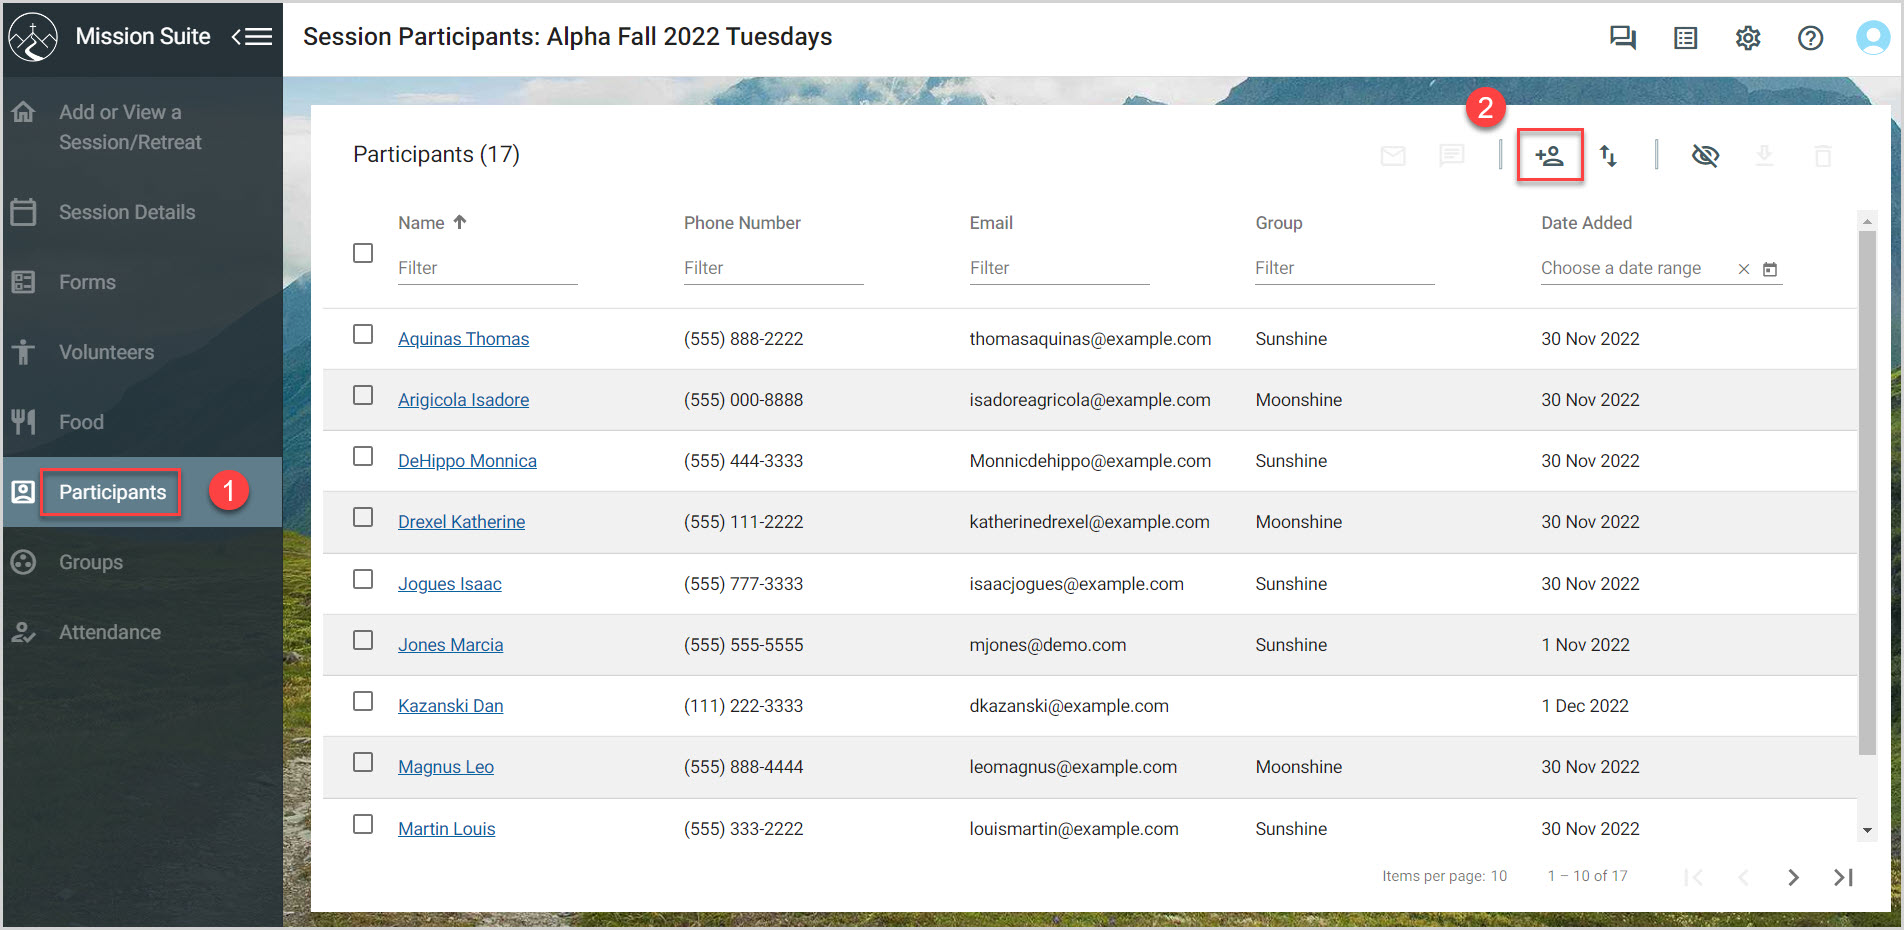
10. On the homepage, click on Encounter.
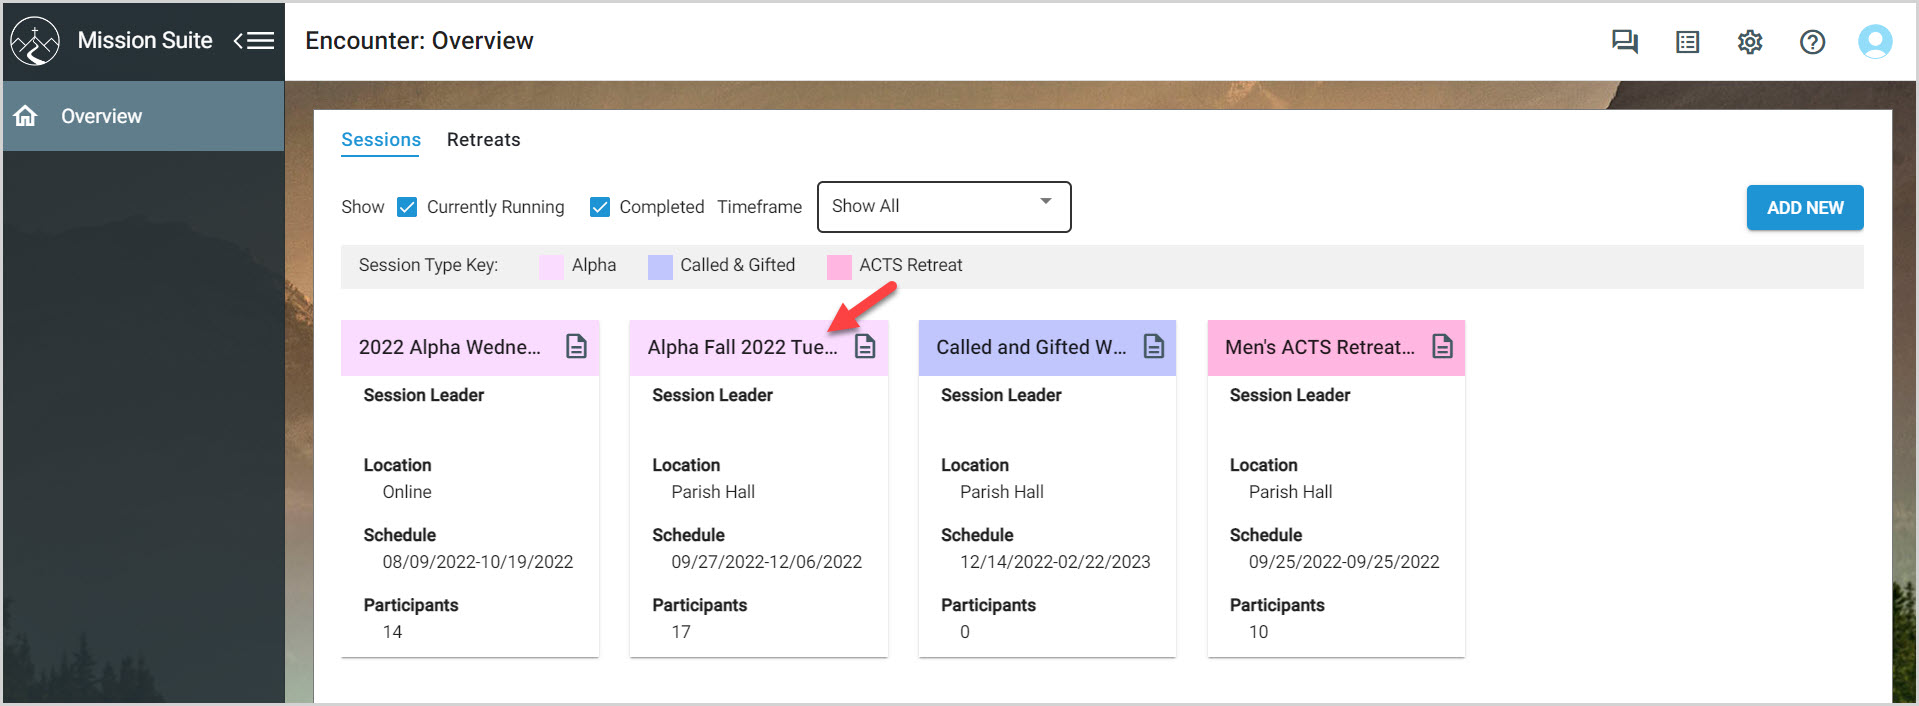
11. Click on the desired Session.
13 Click the quick add participant button.
14. Enter in the first few letters of the last name of the person you wish to add. All matching records display. Records from ParishSOFT are indicated.
15. Select the desired record.
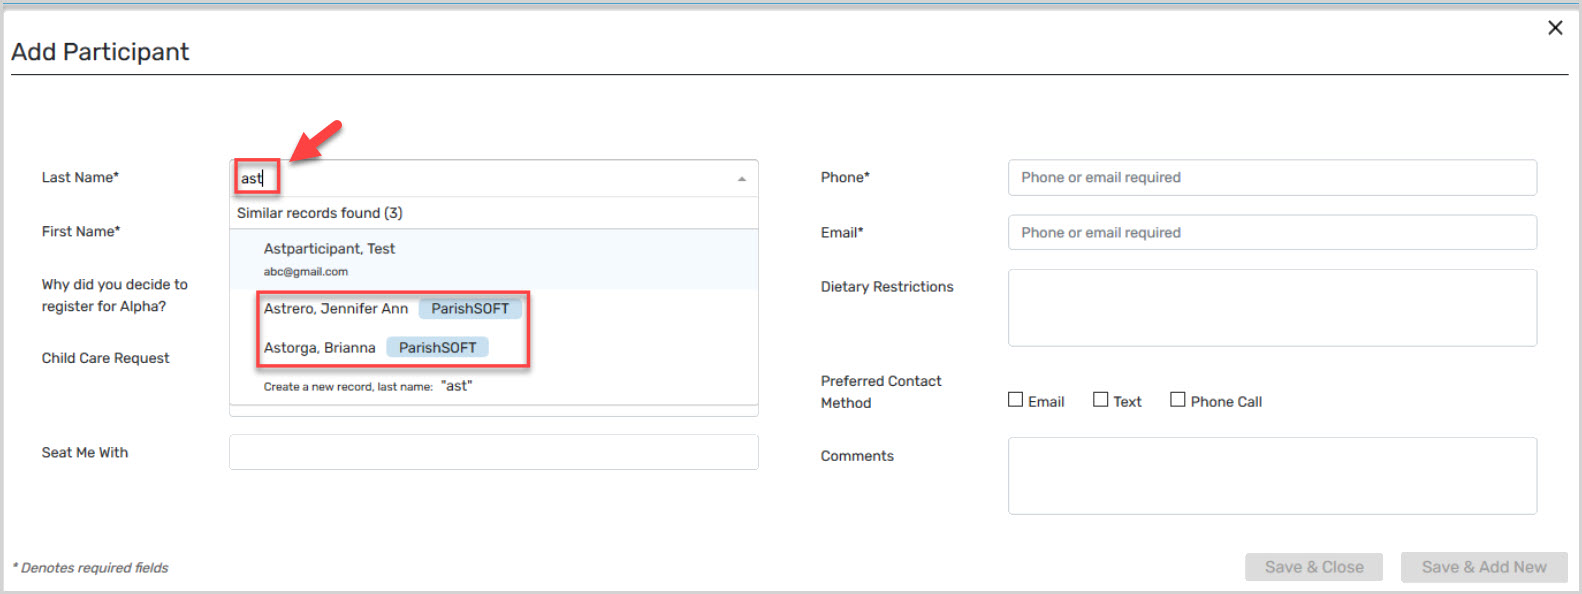
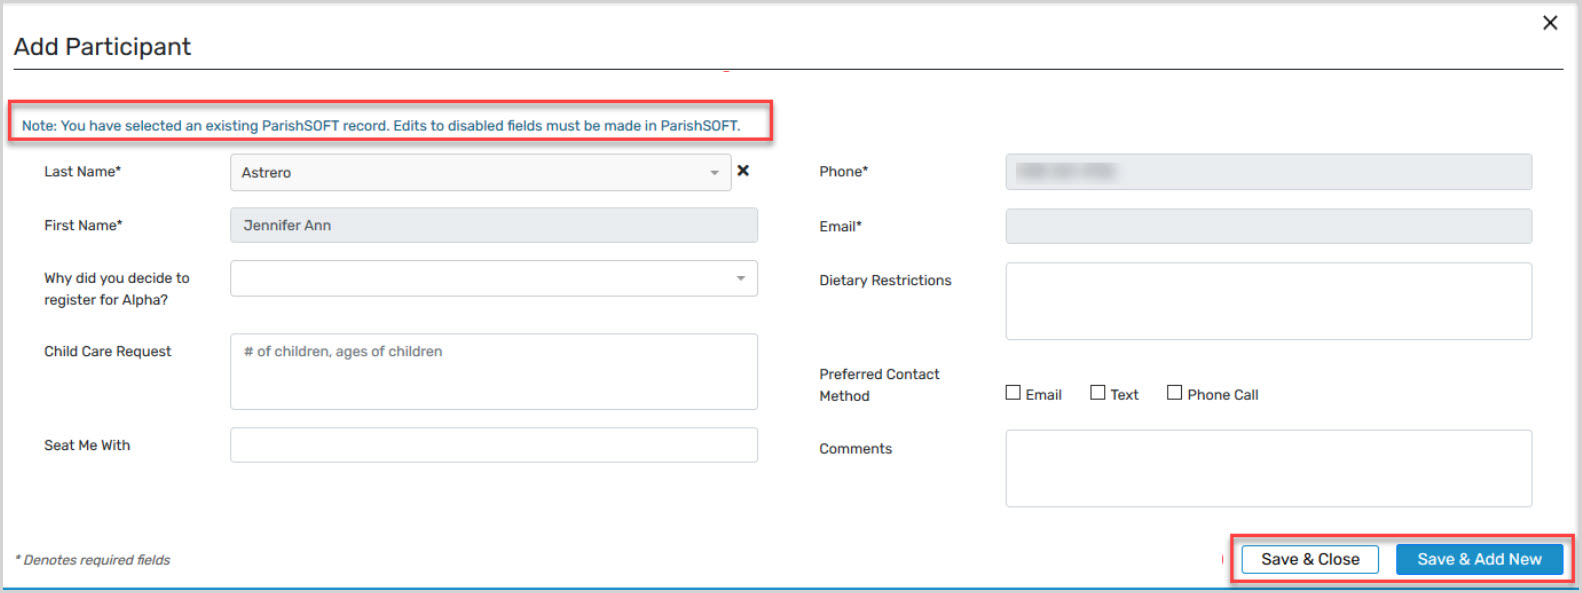
Note* If the desired record is a ParishSOFT record, the fields for Last Name, First Name, Email Address, and Phone Number are imported from ParishSOFT. Any changes to these fields must be made in ParishSOFT.
16. Add information to any of the remaining fields, if desired.
17. Click Save & Close. To save this record and add another participant, click Save & Add New.