Create or Edit a Search
This article provides steps to create or edit a search to find people.
Find potential volunteers, your next leaders, or even those who have not been spiritually active. Create a new search or save time with default searches created based on common queries. Find people who meet certain criteria by using the filtering power of the Mission Suite and begin a conversation right away!
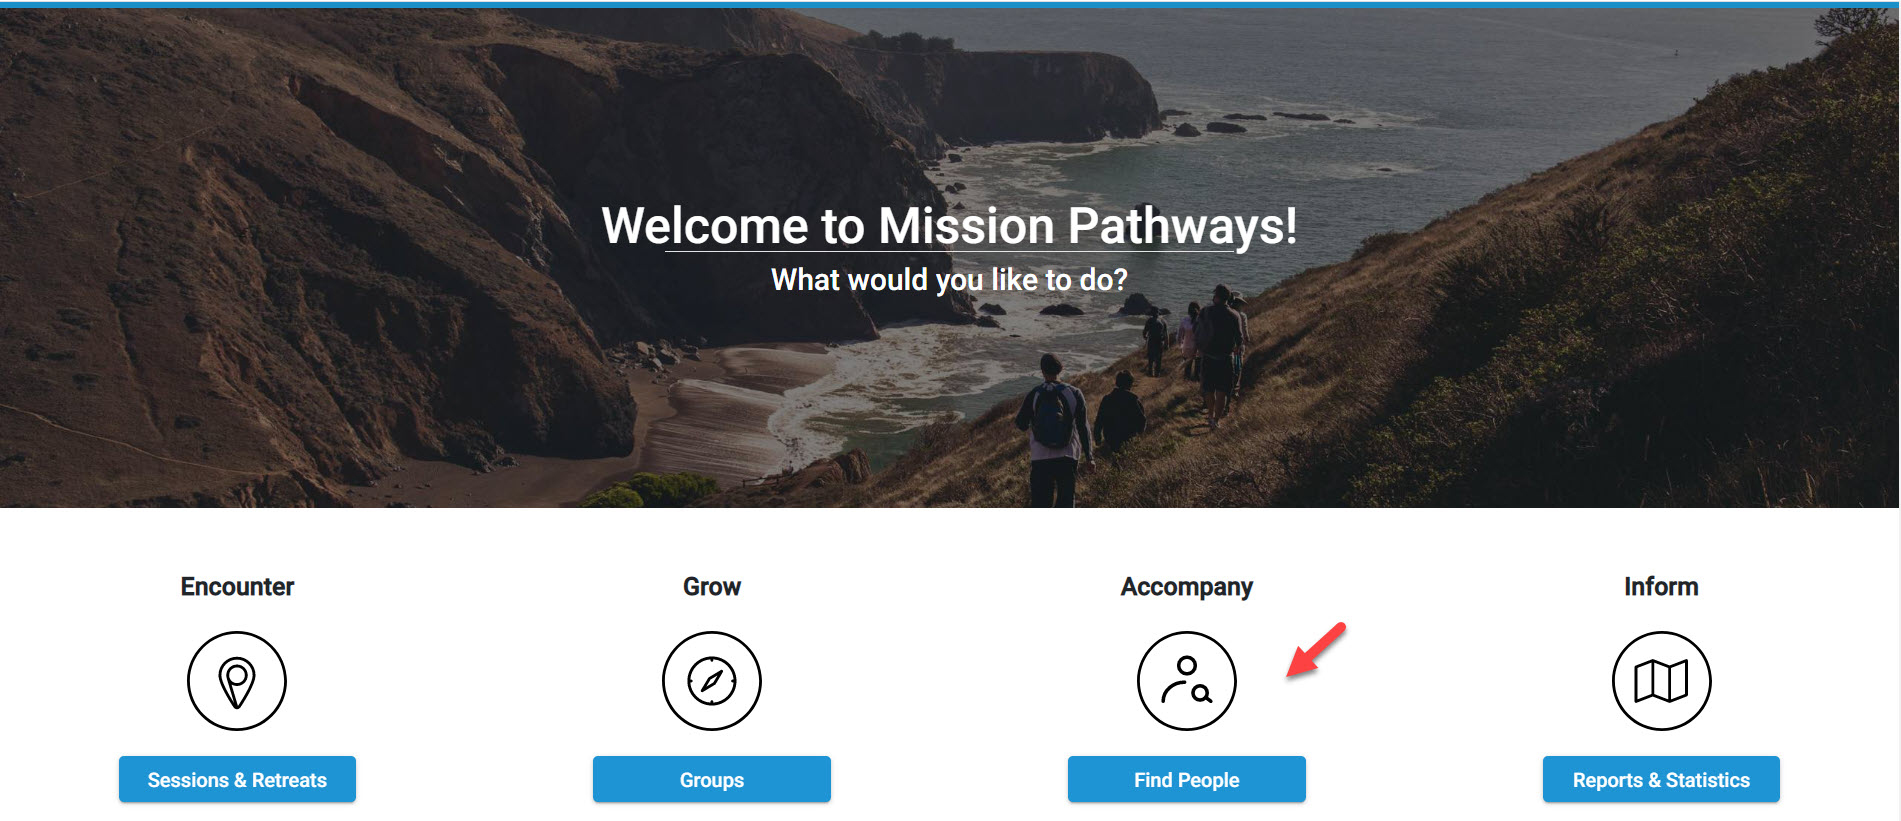
2. From Find People click on any Default Search link or the + New Search link.
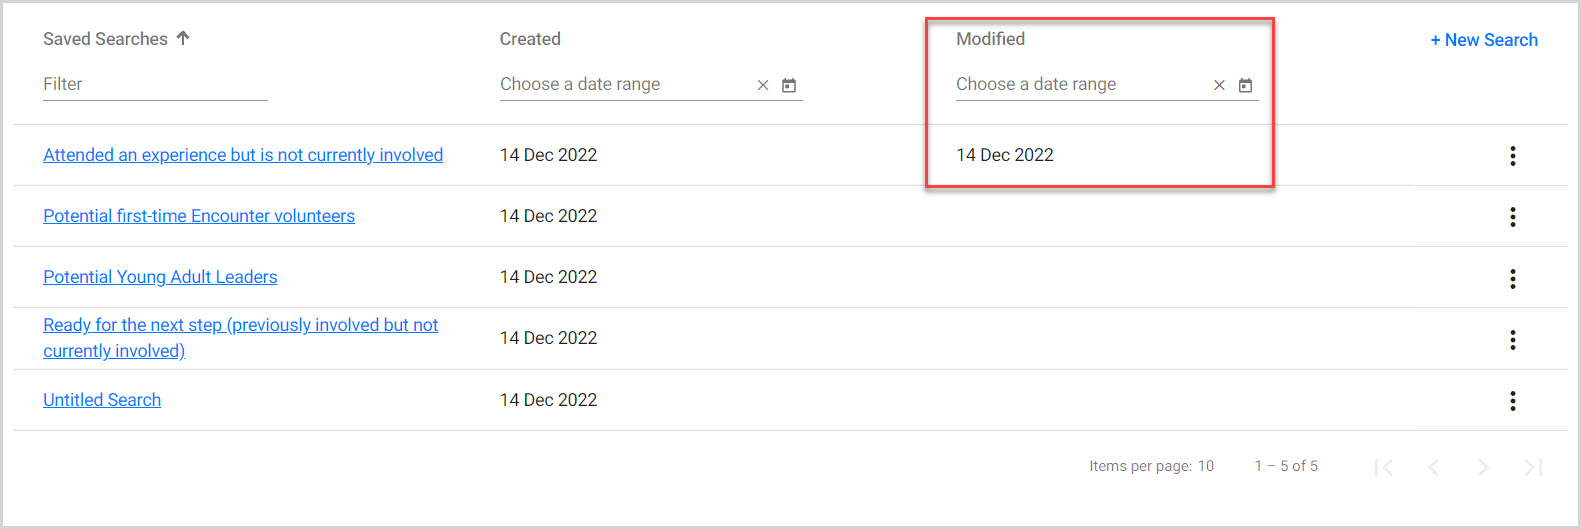
Note* The date the search was created or modified is viewable and able to be searched by selecting a date range. Searches can be renamed, duplicated or removed.

Here is a list of default searches:
1. Attended an Experience but is not currently involved
2. Potential First-time Encounter Volunteers
3. Potential Young Adult Leaders
4. Ready for next step (previously involved and not currently involved)
3. Enter information appropriate for the desired search using the filters in the drop-down menu. Personal Information filters, or past experiences with Encounter or Grow filters provide opportunities to locate exactly what you want.
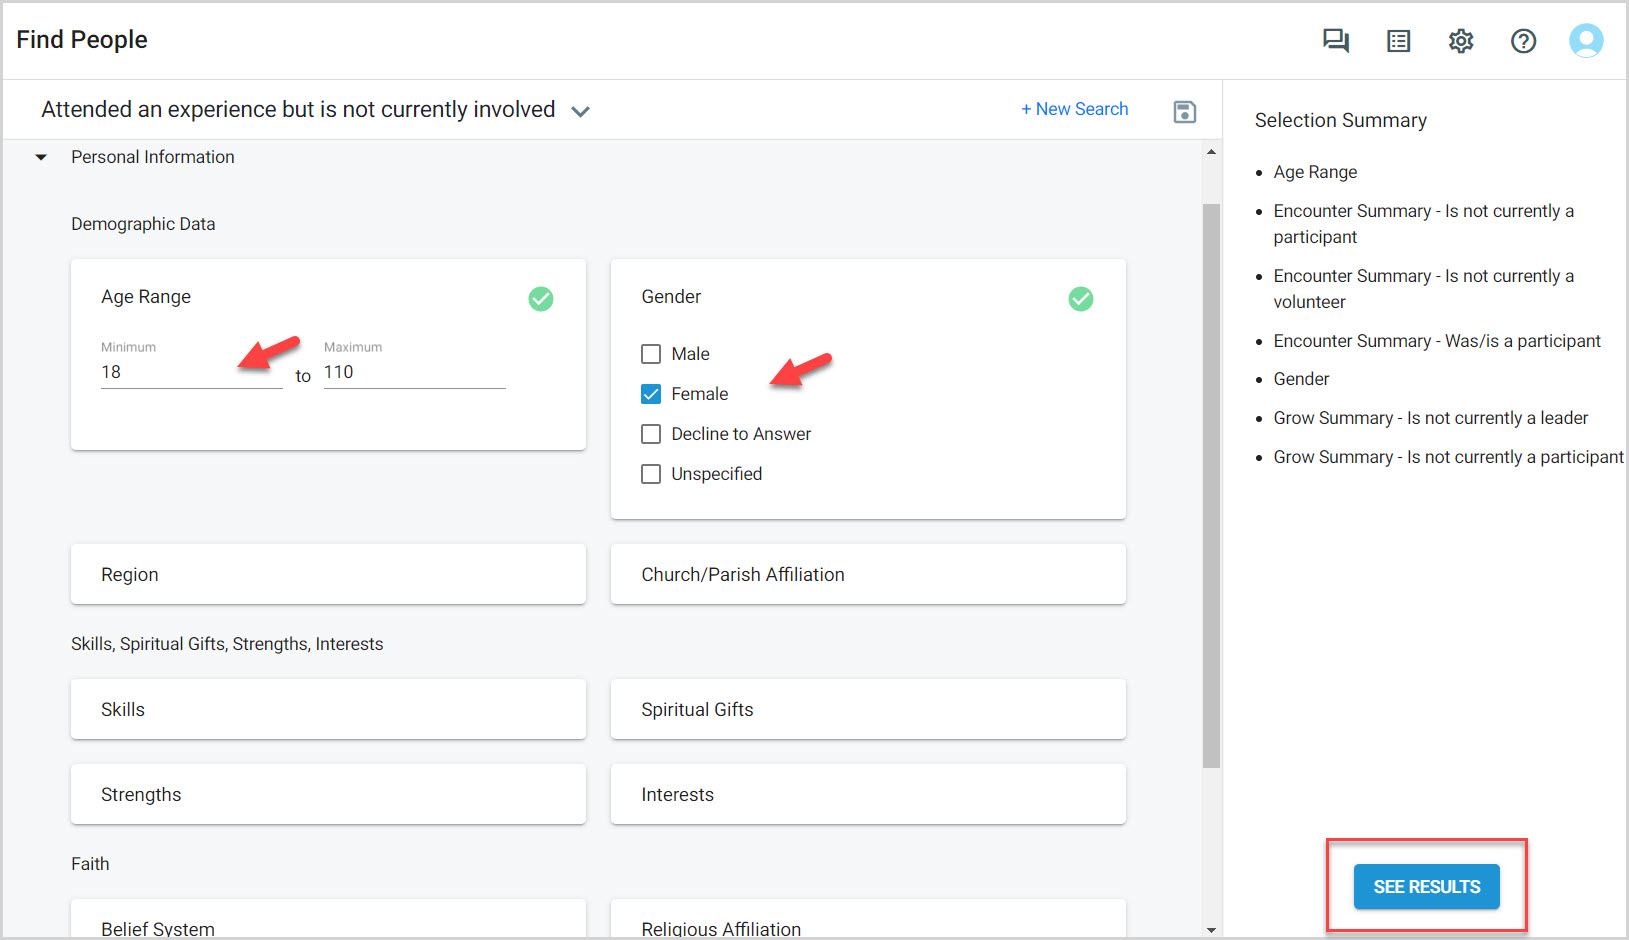
For Example: When creating a new women's circle, you might begin with the default search for those who have attended an experience but are not currently involved.
To add to the search criteria, click on the Personal Information using the drop-down menu.

If you would like to ensure the results include women who are over the age of 18, enter an age range and select the Female checkbox as a part of the search criteria. Select any other criteria you deem as pertinent to include in the search.
4. Click See Results.
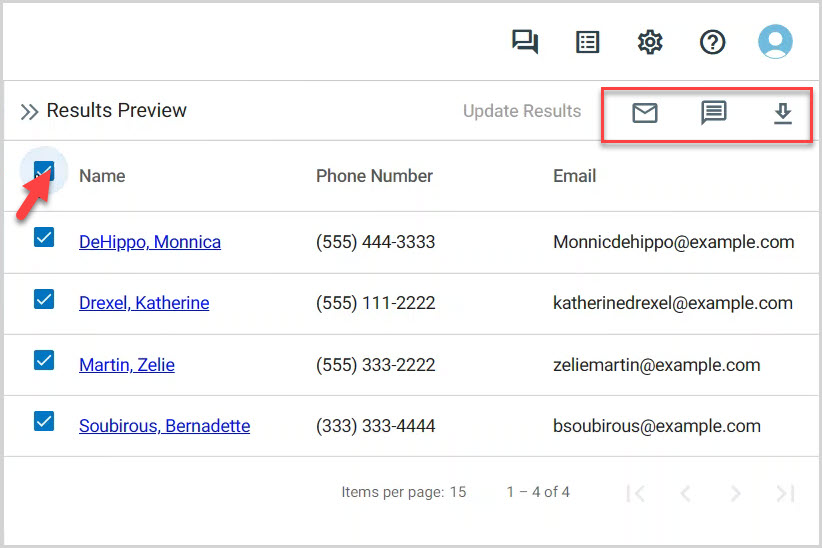
Note* Results are displayed in alphabetical order by last name. You can select all or any number of records by placing a checkmark in the box at the top or in any of the other boxes and text, email or export them. This makes starting a conversation with a specific group defined by you quick and easy.
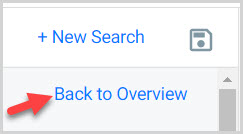
5. Click here to close the results and view the Save button.
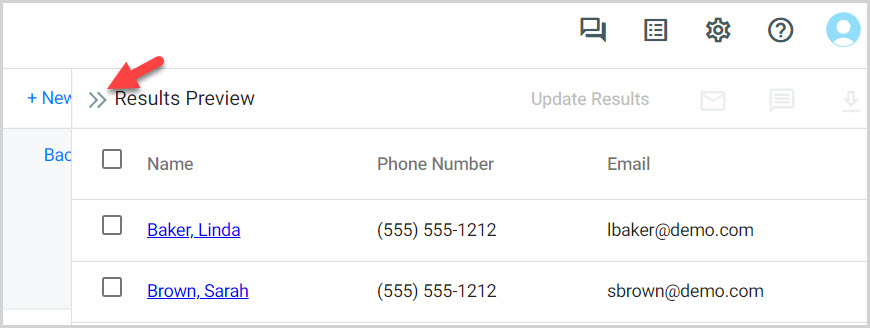
5. Click on Save.

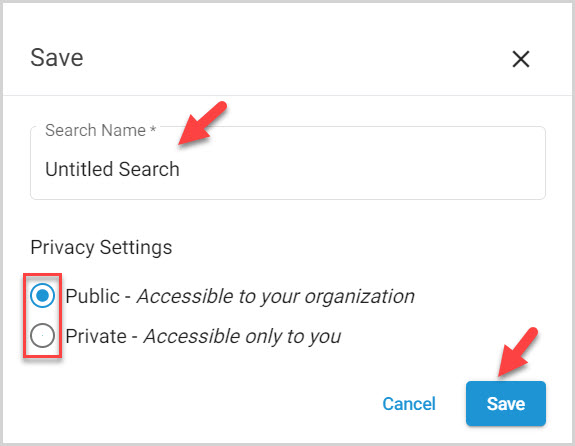
6. Enter the Name of your search.
7. Choose whether the search will be public or private. Public (visible to all users in your organization) or Private (visible only to you).
8. Click on Save.
